Introduction: Why Insurance Matters for Your DIY Flooring Project
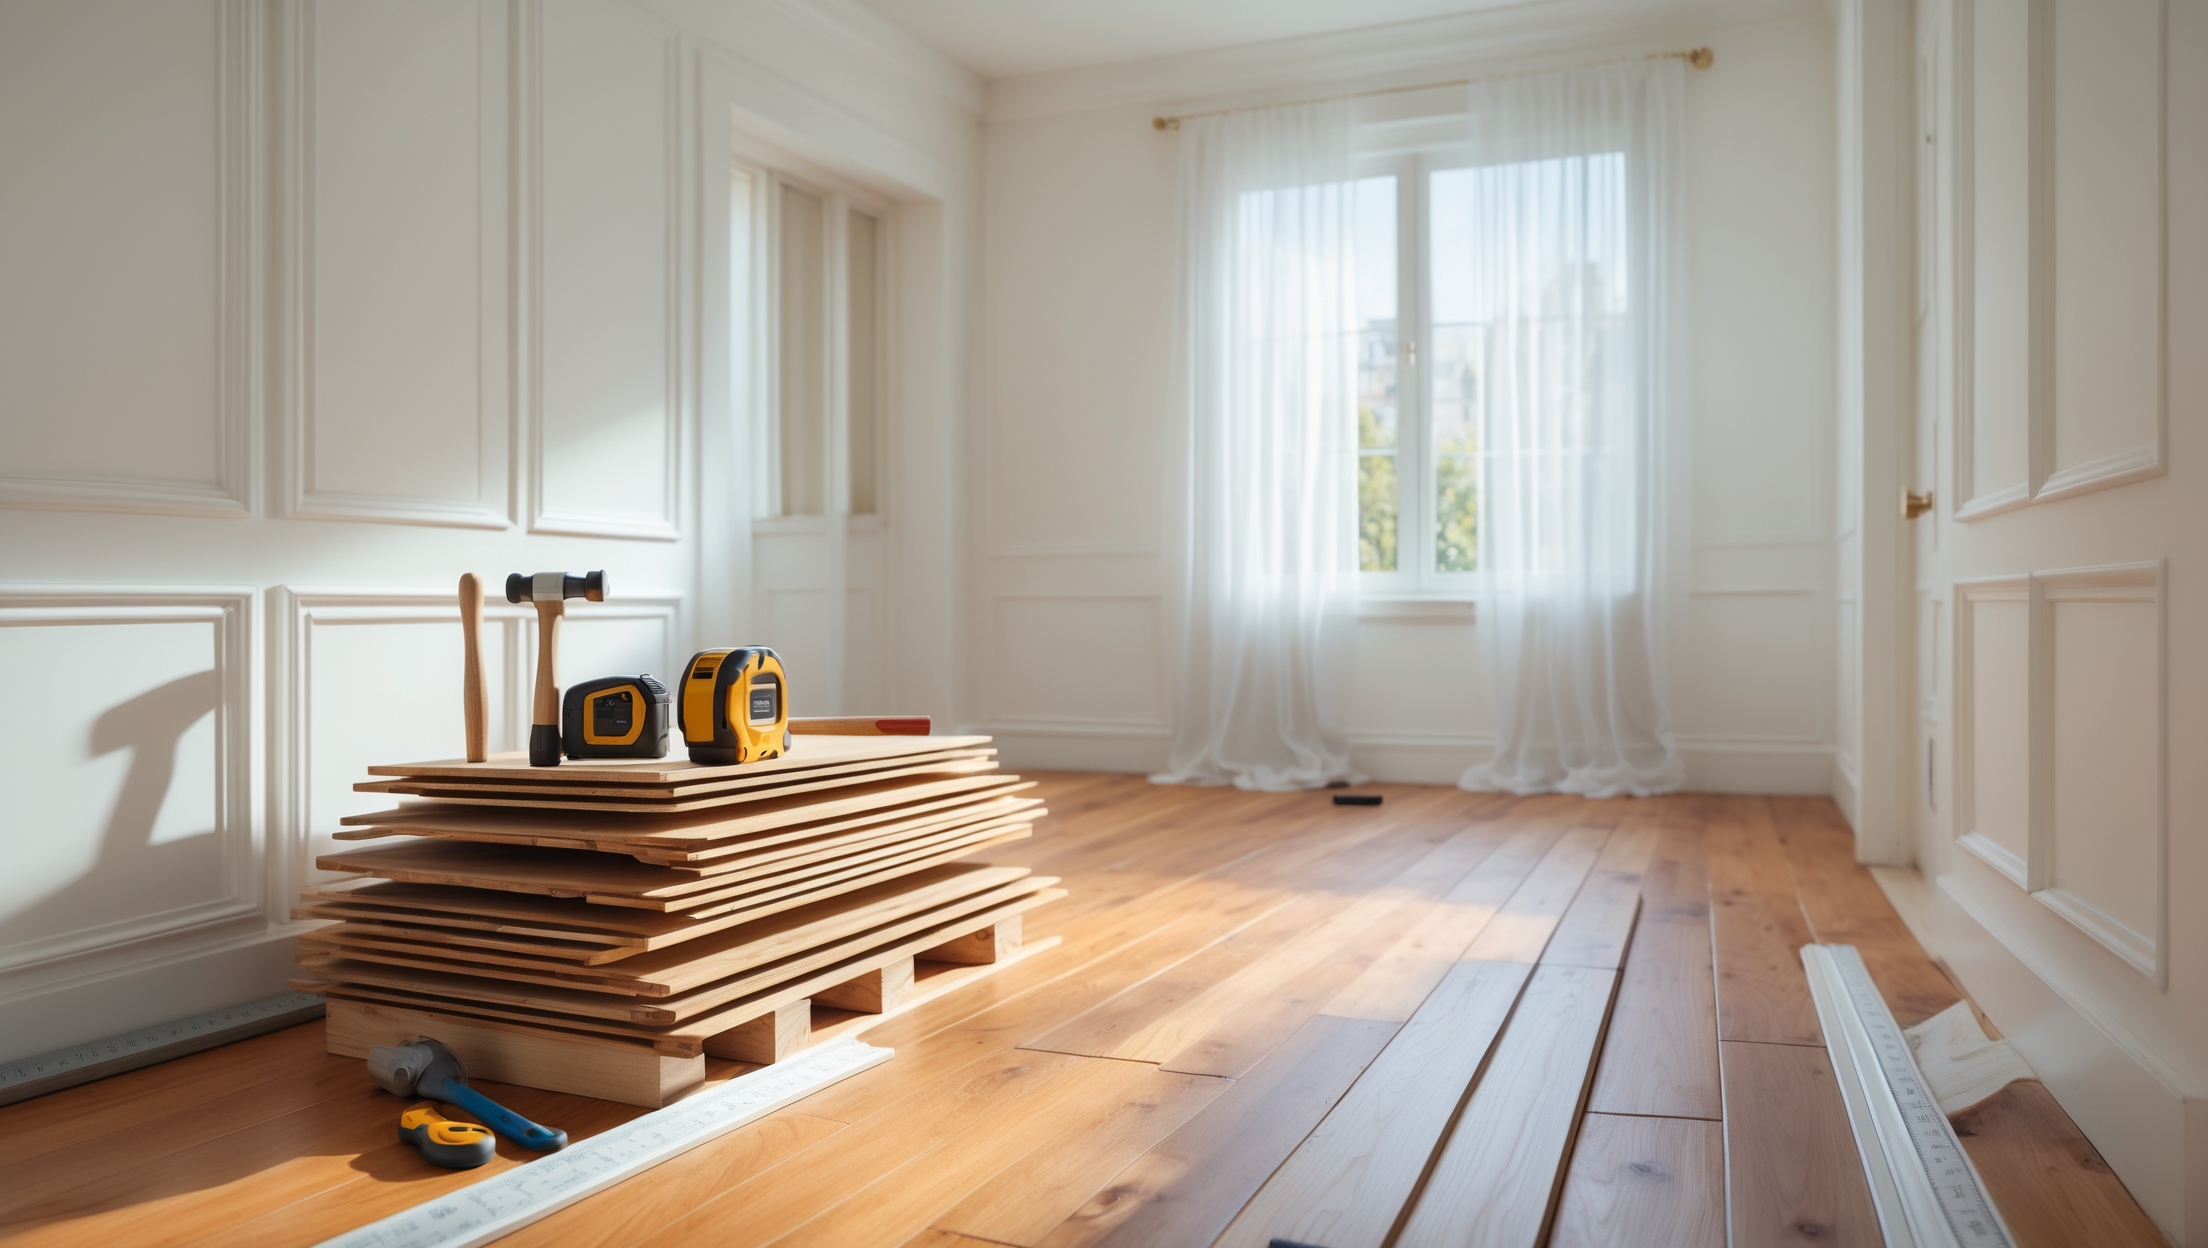
DIY flooring projects can be exciting, rewarding, and cost-effective—whether you’re laying down hardwood in your living room, installing luxury vinyl in your kitchen, or updating your basement with laminate. But beneath the surface, there’s a layer of risk many homeowners overlook. From accidental water damage to injuries and post-installation mishaps, these projects can expose you to financial and legal liabilities. Insurance is the safety net that keeps your investment, home, and family protected if things go wrong.
Many DIY enthusiasts assume their standard homeowners policy covers any accident or damage during renovations. Unfortunately, this is often not the case. Exclusions, limitations, and the fine print can leave you exposed to costly claims or denied coverage. Understanding the insurance essentials specific to DIY flooring is not just smart—it’s crucial. In this guide, we’ll explore the coverage you need, common mistakes to avoid, how to communicate with your insurer, and practical steps to safeguard your project from day one. Whether you’re a first-timer or a seasoned renovator, this deep dive will equip you with the knowledge to complete your flooring project with confidence and peace of mind.
Understanding the Risks: What Can Go Wrong in DIY Flooring?
Every flooring project—large or small—carries inherent risks that insurance can help manage. Recognizing these risks is the first step toward proper protection.
- Property Damage: Cutting boards indoors, using adhesives, or handling heavy tools can lead to scratched walls, broken windows, or even structural damage. Water damage from improper installation of floating floors or leaks during tile setting is a common claim.
- Bodily Injury: DIYers and their helpers are at risk for slips, trips, falls, or injuries from tools like nail guns, saws, or heavy flooring bundles. Guests or family members could also be injured if the work area isn’t secure.
- Faulty Installation: Mistakes can result in uneven floors, loose planks, or tiles that lead to future accidents or costly repairs. Insurance can sometimes address resulting damage, but not always the faulty workmanship itself.
- Liability to Others: If your project causes damage to a neighbor’s property—say, water seeps into their unit in a condo—or injures a visitor, you could face a lawsuit.
- Fire and Environmental Hazards: Finishing products, adhesives, and old wiring exposed during demolition can create fire or health risks.
Homeowners Insurance: What’s Covered and What’s Not?
Typical Policy Coverage
Most standard homeowners insurance policies provide coverage for sudden and accidental damage to your property, as well as liability protection if someone is injured on your premises. However, when it comes to renovations and DIY improvements, there are important caveats.
- Covered: Fire, sudden water damage (from burst pipes, not slow leaks), theft of materials, and some liability if someone is injured by a hazard you didn’t create intentionally.
- Not Covered: Poor workmanship, gradual damage due to improper installation, or claims arising from non-permitted work. Injuries to yourself or your household members are also not covered under liability.
Exclusions and Limitations
Policies may exclude coverage for renovations that aren’t disclosed to your insurer or that exceed a certain value. Many insurers require notification for any work costing over a set threshold—often $5,000 or more. Some also exclude coverage for “major alterations” unless you update your policy. Always check your declarations page and speak with your agent before starting work.
Upgrades and Increased Value
If your flooring project increases the value of your home, you may need to adjust your coverage limits. Failing to do so can leave you underinsured if you have a claim after the renovation.
Key Insurance Types for DIY Flooring Projects
1. Homeowners Insurance Endorsements
Ask your agent about endorsements (riders) that extend coverage for home improvements or for building materials stored offsite. A renovation endorsement can offer extra protection during your project, including theft or vandalism of supplies.
2. Builder’s Risk Insurance
If your flooring project is part of a larger remodel, builder’s risk insurance (also called renovation insurance) may be necessary. This policy covers property damage to the structure and materials during the project, including damage from fire, wind, or theft. Some insurers offer short-term policies for DIYers.
3. Liability Insurance
Personal liability coverage in your homeowners policy protects against lawsuits if someone is injured during your project. If you’re hiring contractors for parts of the job, ensure they have their own liability coverage and workers’ compensation.
4. Equipment Coverage
Expensive tools rented or purchased for the project may not be covered for theft or damage under your standard policy. Consider a personal property endorsement or check if your rental agreement includes insurance.
Before You Start: Steps to Ensure Proper Coverage
1. Notify Your Insurer
Contact your insurance agent before buying materials or starting demolition. Explain the scope, timeline, and estimated cost of your flooring project. Ask if you need to update your policy, add endorsements, or consider a short-term builder’s risk policy.
2. Review Policy Documents
Read your homeowners policy and endorsements carefully. Pay special attention to exclusions related to renovations, DIY work, and building code compliance. Ask your agent to clarify any ambiguous language.
3. Document the Process
Take photos and videos before, during, and after your project. Save all receipts for materials, equipment, and any professional assistance. This documentation can be invaluable if you need to file a claim or prove the value of your improvements.
4. Secure Permits and Follow Codes
Many policies exclude coverage for work done without the proper permits or in violation of building codes. Even if your municipality doesn’t require a permit for flooring, be sure to follow all safety and installation guidelines.
5. Minimize Hazards
Keep your work area clean and organized. Use caution signs or barriers if others are in the home. Store tools and materials safely to reduce the risk of accidents or theft.
During the Project: Staying Insured and Safe
1. Monitor for New Risks
As you remove old flooring or subflooring, you may uncover issues like hidden water damage, asbestos, or mold. Notify your insurer immediately if you discover a significant problem, as it could affect your coverage and claims process.
2. Protect Materials and Tools
Store flooring materials in a dry, secure location. If materials are stolen from your property, coverage may depend on whether they were stored inside your home, garage, or a vehicle. High-value tools should be locked up when not in use.
3. Manage Liability
- Keep children and pets away from the work area.
- Use proper safety gear, including gloves, eye protection, and dust masks.
- Don’t allow untrained friends or neighbors to assist unless you understand the liability implications.
- Post warning signs if the project area is accessible to guests.
4. Use Licensed Pros for Critical Steps
For electrical work, subfloor repairs, or dealing with hazardous materials, hire licensed professionals. Your policy may deny claims for damage caused by unqualified work, especially in electrical or structural areas.
After Completion: Protecting Your New Floors and Your Policy
1. Update Your Insurance Coverage
Once your flooring project is complete, notify your insurer again. Provide documentation of the completed work, including before-and-after photos and receipts. Ask if you need to adjust your dwelling coverage to reflect the increased value.
2. Conduct a Final Inspection
Ensure the installation meets all local codes and manufacturer specifications. Some insurers may require proof of compliance for claims related to the new flooring.
3. Maintain Your Floors
Regular maintenance (such as cleaning, resealing, or addressing minor repairs promptly) minimizes the risk of damage and claims. Insurance typically doesn’t cover wear and tear or gradual deterioration.
4. Store Documents Safely
Keep all project documentation, permits, receipts, and correspondence with your insurer in a safe, accessible place. This record will support your case if you ever need to file a claim related to your new floors.
Common Insurance Mistakes DIYers Make (and How to Avoid Them)
- Not Informing the Insurer: Failing to notify your insurer of a major improvement can result in denied claims or inadequate coverage.
- Assuming All Damage is Covered: Insurance rarely covers faulty installation or gradual damage, only sudden, accidental events.
- Ignoring Permit Requirements: Skipping permits can invalidate your coverage if the work contributes to a future loss.
- Underinsuring Upgrades: Not increasing your policy limits after a major project can leave you out of pocket for repairs or rebuilding.
- Overlooking Liability Risks: DIY projects increase the chance of guest injuries and lawsuits. Take extra precautions and understand your policy’s limits.
Case Example: A Flooring Project Gone Wrong
Consider the story of a DIY homeowner who installed engineered hardwood in their basement. In their eagerness, they skipped a permit, failed to notify their insurer, and overlooked proper vapor barrier installation. Six months later, a heavy rainstorm caused minor basement flooding. The new flooring warped, and mold developed. When the homeowner filed a claim, the insurer denied coverage—citing lack of disclosure, improper installation, and unpermitted work. The homeowner faced thousands in out-of-pocket repairs and had to replace the flooring entirely.
The lesson: Even small oversights can have major financial consequences. Taking the right insurance steps before, during, and after your DIY flooring project can save you from similar headaches.
Step-by-Step Insurance Checklist for DIY Flooring Projects
- Contact your insurance agent before starting any work.
- Disclose the full scope, cost, and timeline of your project.
- Request coverage endorsements if necessary.
- Confirm your liability limits and understand exclusions.
- Obtain required permits and follow local codes.
- Document every phase of the project with photos and receipts.
- Secure all materials and tools when not in use.
- Use licensed professionals for any complex or hazardous work.
- Notify your insurer when the project is complete and update coverage as needed.
- Retain all documentation in a safe, accessible location.
Conclusion: Protect Your Home and Your Hard Work
Embarking on a DIY flooring project is a major investment of time, money, and effort. It’s a chance to personalize your living space and increase your home’s value. But with these rewards come risks that are too often overlooked—especially when it comes to insurance. A single mistake, oversight, or accident can erase your hard work and expose you to significant financial loss. That’s why taking the right insurance steps is as important as choosing the perfect flooring material.
Start by communicating openly with your insurer, understanding your policy’s limitations, and securing the endorsements or additional coverage you need. Don’t cut corners on permits or safety, and document every step of the process. After your project is done, make sure your policy reflects your home’s new value, and maintain your floors to prevent future issues. By following these practical guidelines, you won’t just protect your investment—you’ll enjoy your beautiful new floors with true peace of mind, knowing you’re covered for whatever comes next. In the end, the best DIY projects are those that combine creativity with caution and smart planning. Make insurance an integral part of your home improvement journey, and your results will stand the test of time.
If my standard homeowners insurance doesn’t cover damages from a DIY flooring project, what’s the best way to communicate this type of renovation to my insurer so I don’t miss any necessary coverage?
Contact your insurance provider before starting your DIY flooring project. Clearly explain the scope of your renovation, materials you’ll use, and whether you’ll hire any professionals for specific tasks. Ask if you need extra coverage or policy endorsements to protect against accidental damage or liability during and after the project.
The article mentions injuries caused by tools like nail guns or heavy flooring bundles. How can I make sure my liability coverage extends to friends or family who help out with the installation?
To ensure your liability coverage extends to friends or family helping with your flooring project, check your homeowners or renters insurance policy. Contact your insurer to confirm coverage details and discuss adding a rider or endorsement if needed, so any helpers injured during the installation process are protected.
If I accidentally cause water damage to my subfloor while installing laminate, would a typical homeowners policy cover that, or do I need separate renovation insurance?
Most standard homeowners policies don’t cover accidental damage you cause to your property during renovations, like water damage from a DIY flooring job. For this kind of scenario, you might need additional renovation insurance or an endorsement. It’s best to check your policy details or speak with your insurer to clarify your specific coverage.