Introduction: Why Soundproofing Matters for Modern Homes
Noise is one of the most underestimated sources of stress and discomfort in our homes. Whether you live in a bustling city, a lively suburb, or even a rural neighborhood, unwanted sounds can disrupt sleep, concentration, relaxation, and even your health. As a result, more homeowners are turning to DIY soundproofing projects to create quieter, more serene living spaces. However, many beginners fall prey to common mistakes that waste time, money, and effort, often resulting in lackluster results. In this detailed guide, we’ll uncover the most frequent soundproofing errors, explain why they happen, and provide expert-backed solutions for achieving effective noise reduction. By the end, you’ll be equipped with practical knowledge to avoid pitfalls and make your home truly peaceful.
Understanding How Sound Travels: The Basics
Before diving into mistakes, it’s crucial to understand the fundamentals of how sound moves through your home. Sound travels in waves, which can pass through, bounce off, or vibrate solid objects. There are two primary sound transmission types:
- Airborne Noise: Sound waves that travel through the air (voices, TV, music).
- Structure-Borne Noise: Vibrations transmitted through building materials (footsteps, banging, plumbing).
Effective soundproofing addresses both types, often requiring a combination of materials and techniques. A lack of understanding here is where many beginners go wrong.
Main Mistake #1: Treating Soundproofing and Acoustic Treatment as the Same
One of the first pitfalls is confusing soundproofing with acoustic treatment. While they sound similar, they serve different purposes:
- Soundproofing is about blocking unwanted noise from entering or leaving a room.
- Acoustic treatment focuses on improving sound quality within a room by controlling echoes and reverberation.
Beginners often install foam panels or egg crates, expecting silence. These products absorb some echo but do little to block external noise. Instead, soundproofing requires materials that add mass, decouple surfaces, or create airtight seals.
How to Avoid This Mistake
- Identify your goal: Block noise in/out (soundproofing) or reduce echo (acoustic treatment).
- Use dense materials like mass-loaded vinyl, drywall, or insulation for soundproofing.
- Reserve foam panels for controlling echo inside media rooms or studios.
Main Mistake #2: Ignoring Air Gaps and Flanking Paths
Sound exploits even the smallest gaps. Common culprits include:
- Gaps around doors and windows
- Electrical outlets and light switches
- Vents, ducts, and pipes
- Loose floorboards or baseboards
Failing to address these “flanking paths” means noise will always find a way through, no matter how much insulation you add to walls.
How to Avoid This Mistake
- Seal all gaps with weatherstripping, acoustic caulk, and door sweeps.
- Install gaskets behind electrical outlet covers.
- Use acoustic putty to seal around pipes and vents.
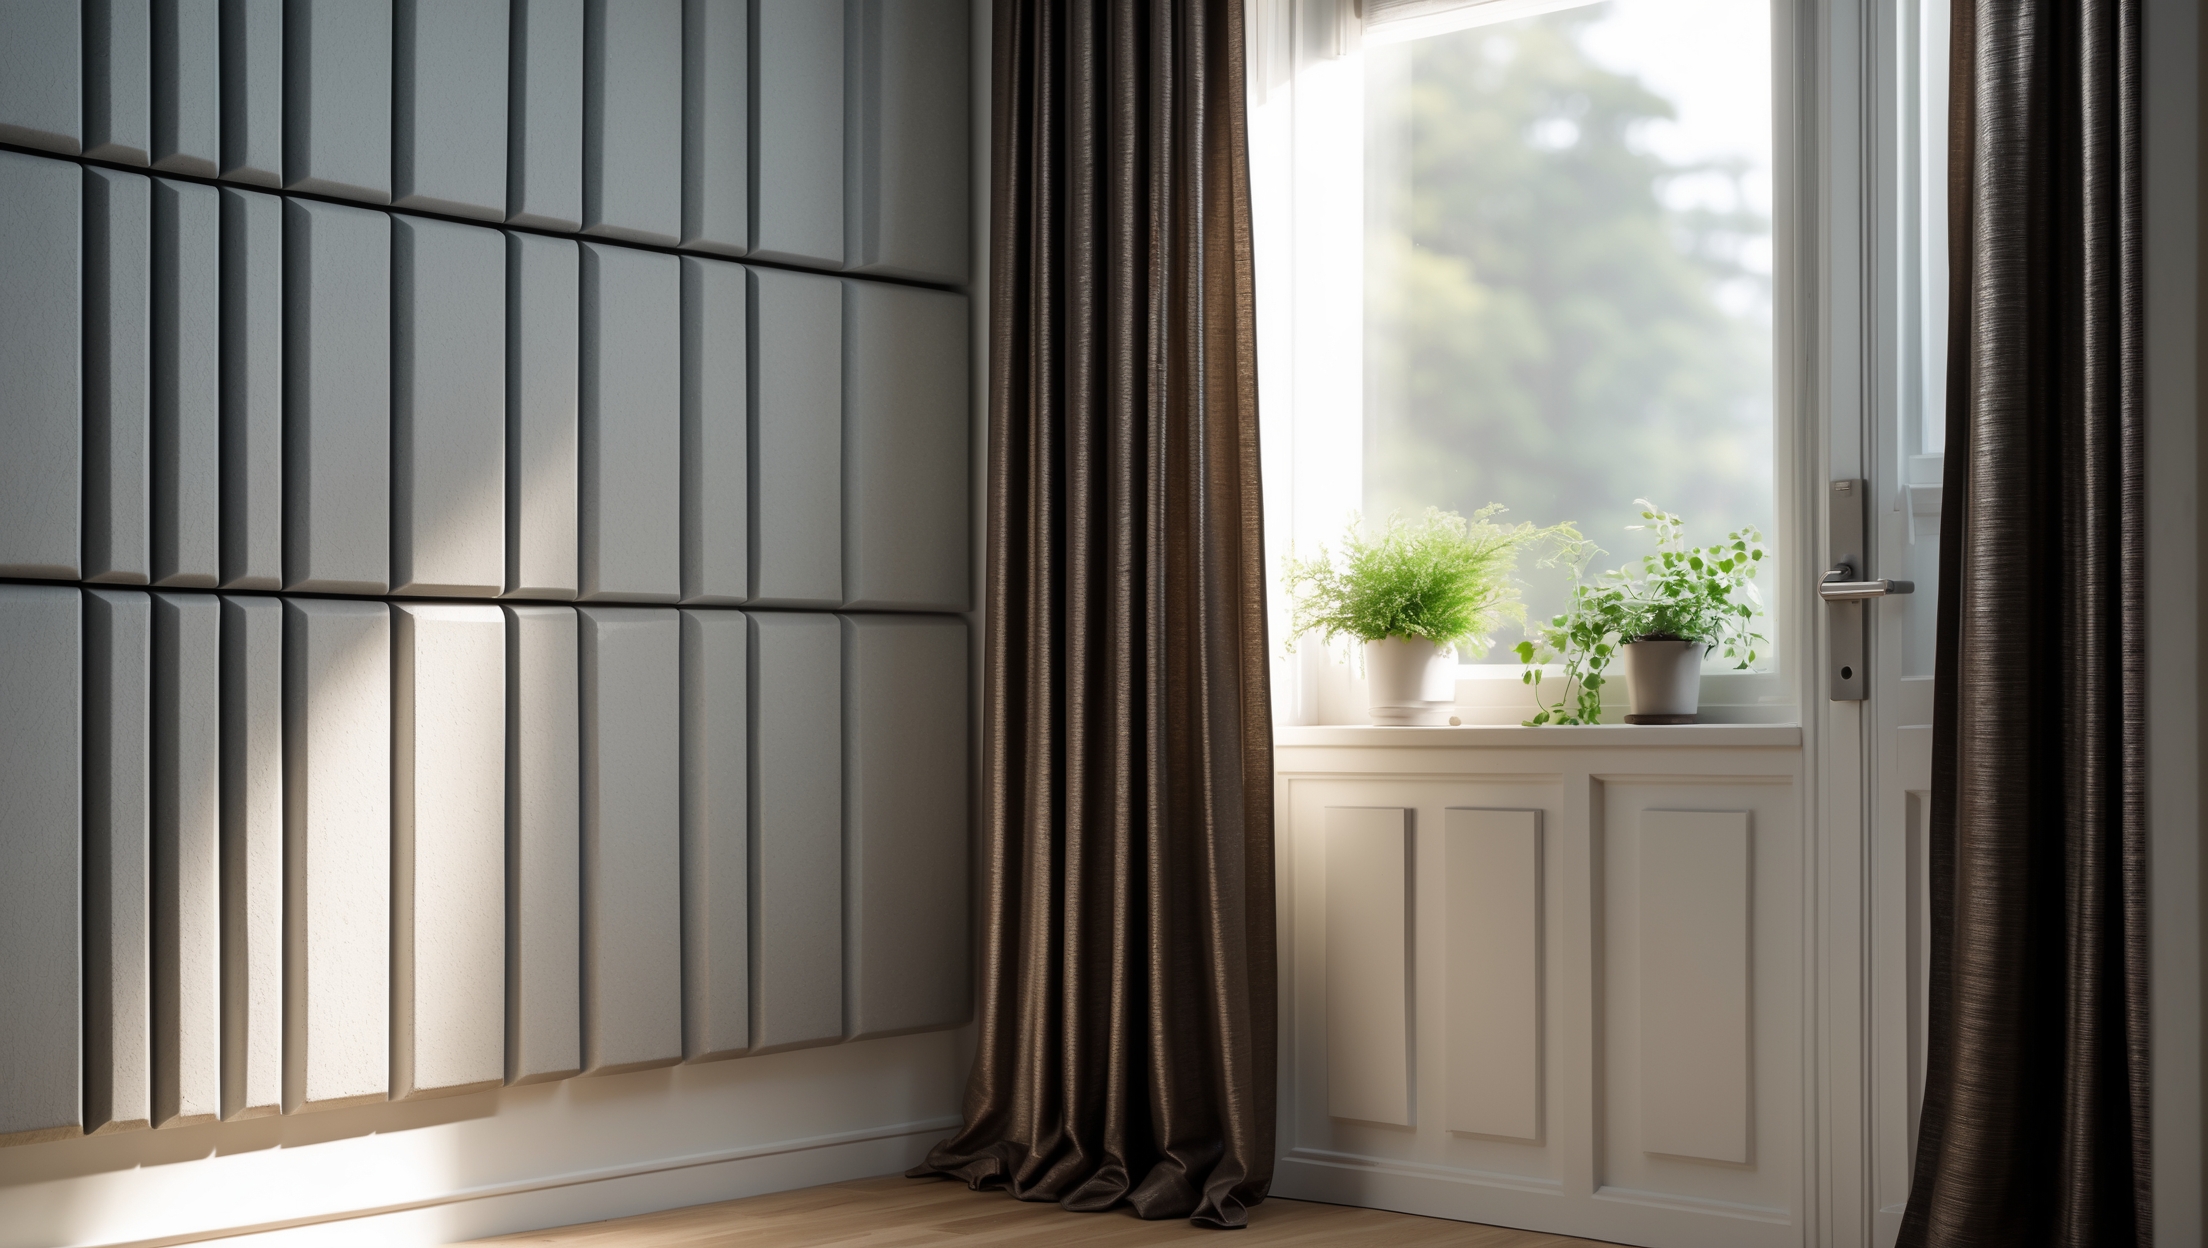
Main Mistake #3: Underestimating the Importance of Doors and Windows
Doors and windows are typically the weakest links in a room’s soundproofing. Hollow-core doors and single-pane windows offer minimal noise reduction, yet many DIYers overlook them.
How to Avoid This Mistake
- Upgrade to solid-core doors for interior applications.
- Install acoustic door seals and heavy-duty sweeps.
- Use double-glazed or laminated windows for best results.
- Hang thick, insulated curtains as a budget-friendly improvement.
Main Mistake #4: Forgetting About Floors and Ceilings
Many beginners focus only on walls, not realizing that sound travels freely through floors and ceilings—especially in apartments, condos, and multi-level homes.
How to Avoid This Mistake
- For floors, use thick rugs, carpet underlays, or mass-loaded vinyl beneath flooring.
- Install resilient channels or acoustic insulation in ceiling cavities.
- Consider drop ceilings with sound-absorbing tiles in basements or noisy spaces.
Main Mistake #5: Using the Wrong Materials
Not all materials marketed as “soundproof” are effective. Thin foam, lightweight curtains, or regular insulation (like fiberglass batts) provide little real noise isolation. Marketing hype often misleads DIYers into buying ineffective solutions.
How to Avoid This Mistake
- Research Sound Transmission Class (STC) ratings of products before purchase.
- Prioritize dense, heavy materials such as mass-loaded vinyl, double drywall, and green glue damping compounds.
- Consult manufacturer specifications and independent reviews.
Main Mistake #6: Not Planning a Layered Approach
Effective soundproofing is rarely achieved with a single product. It’s the combination of multiple strategies—mass, decoupling, absorption, and damping—that yields real results. Beginners often expect miracles from a single treatment.
How to Avoid This Mistake
- Combine dense materials with decoupling techniques (like resilient channels).
- Add absorption (mineral wool, acoustic panels) inside wall and ceiling cavities.
- Use damping compounds between layers of drywall to reduce vibration transmission.
Main Mistake #7: Overlooking HVAC, Plumbing, and Shared Walls
Noisy pipes, shared ductwork, and common walls can all undermine your efforts. Sound can travel easily through these routes and emerge in unexpected places.
How to Avoid This Mistake
- Install acoustic insulation around pipes and inside ductwork.
- Use duct silencers and vibration mounts for HVAC systems.
- Add additional drywall or soundproofing layers to shared walls, especially in attached homes or apartments.
Main Mistake #8: Skipping the Assessment Phase
Jumping straight to buying materials without assessing your noise problem leads to wasted effort. You need to identify where sound is entering or escaping and what type it is (airborne vs. structure-borne).
How to Avoid This Mistake
- Walk through your space during noisy times and note the sources and entry points.
- Use a decibel meter app to measure noise levels in different rooms.
- Prioritize treating the most problematic areas first for the best return on investment.
Main Mistake #9: Underestimating Project Scope and Budget
Beginners often underestimate the cost and effort required for effective soundproofing, leading to incomplete projects or disappointing results. Materials, professional installation (if needed), and time can add up.
How to Avoid This Mistake
- Get multiple quotes for materials and, if necessary, professional labor.
- Set realistic expectations: full-room soundproofing can be a significant investment.
- Phase your project—start with the most critical fixes if budget is tight.
Main Mistake #10: Ignoring Safety and Compliance
Some soundproofing materials (especially older or imported products) may contain toxic chemicals or reduce fire safety. Skipping code checks or ignoring ventilation can create risks.
How to Avoid This Mistake
- Choose products with safety certifications and low VOC emissions.
- Check local building codes, especially for multi-family dwellings or rental units.
- Ensure that added layers do not block necessary ventilation or fire exits.
Expert Tips for Effective DIY Soundproofing
- Focus on the weakest links: doors, windows, and air gaps often yield the biggest improvements per dollar.
- Test as you go: After each step, re-measure noise to confirm improvements and adjust your strategy.
- Don’t neglect aesthetics—many soundproofing solutions can be integrated seamlessly into your décor with the right planning.
- If in doubt, consult with an acoustical consultant or contractor before starting major projects.
Common Soundproofing Myths Debunked
- Myth: “Egg cartons can soundproof a room.”
Fact: They do little more than scatter sound and offer no real noise barrier. - Myth: “Any foam panel will block noise.”
Fact: Most foam panels absorb echo but do not stop sound transmission. - Myth: “Heavy curtains solve all noise problems.”
Fact: Curtains only reduce some airborne noise, and only slightly. They can’t replace proper window upgrades. - Myth: “One product can fix everything.”
Fact: True soundproofing is layered and strategic.
Case Study: Transforming a Noisy Home Office
A homeowner living near a busy street struggled with traffic noise disrupting their productivity. Initial attempts with foam panels failed. After a thorough assessment, they:
- Sealed all window and door gaps with acoustic caulk and weatherstripping
- Added a solid-core door and heavy curtains
- Installed a secondary acrylic window panel
- Laid down a thick area rug with a soundproof underlay
The result was a dramatic reduction in noise intrusion, turning the office into a calm, focused workspace.
Conclusion: Achieving a Quieter Home—The Smart Way
Soundproofing is one of the most rewarding home improvement projects for those seeking peace, privacy, and comfort. Yet, as we’ve explored, it’s all too easy to waste time and money on ineffective methods or materials. The key is to start with a solid understanding of how sound moves, identify your primary noise sources, and address them with proven, layered strategies. Avoid common pitfalls—confusing soundproofing with acoustic treatment, ignoring gaps and weak points, and falling for marketing claims. Focus your efforts where they matter most: doors, windows, and unsealed gaps. Use the right materials for the job, prioritize safety and compliance, and don’t be afraid to ask for expert help if your project is complex.
Remember, every home is unique, and so are its soundproofing challenges. By learning from the mistakes of others and planning your approach carefully, you’ll maximize your results, creating a quieter, more enjoyable space for years to come. Take it step by step, measure your progress, and celebrate the improvement in your daily comfort. Your home should be your sanctuary—make it as peaceful as it deserves to be.
Could you clarify the difference between addressing airborne noise and structure-borne noise? I run a home office above our store, and it seems like footsteps and phone calls carry differently. Should I tackle these problems with separate materials?
Airborne noise, like phone calls, travels through the air, so sealing gaps and adding dense insulation help reduce it. Structure-borne noise, such as footsteps, passes through building materials, so using carpets, underlays, or resilient channels is best. Yes, you should use different materials and approaches for each type to get effective soundproofing.
You mention that beginners often confuse soundproofing and acoustic treatment, like installing foam panels and expecting silence. Can you suggest specific materials or techniques that are actually effective for blocking airborne noise versus just reducing echo?
To block airborne noise, focus on adding mass and sealing gaps. Use dense materials like mass loaded vinyl, solid-core doors, or extra drywall layers. For reducing echo, acoustic foam panels or curtains help by absorbing reflections, but they won’t block noise from entering or leaving a room.
With DIY soundproofing, how can you prioritize which sources of noise to address first if you’re working with a limited budget or trying to make the most noticeable improvement quickly?
Focus first on the biggest sources of noise that bother you most, such as windows facing busy streets or thin doors. Seal gaps and add weatherstripping, as these fixes are usually affordable and often bring noticeable results. Once the main sources are quieter, you can address secondary noise areas as your budget allows.