Introduction: Why Winterizing Your Plumbing System Matters
As temperatures dip and winter approaches, few things are as urgent for homeowners as safeguarding their plumbing system. Frozen pipes, burst fittings, and unnoticed leaks can quickly escalate into expensive repairs and water damage. According to the Insurance Institute for Business & Home Safety, a burst pipe can cause more than $5,000 in damage in minutes. The good news? Most winter plumbing disasters are entirely avoidable with a proactive, detailed approach. This guide presents a comprehensive, step-by-step checklist for preparing your home’s plumbing system for winter. Whether you’re a seasoned DIYer or a beginner, you’ll find actionable tips that will help you prevent freezing, maintain efficiency, and avoid unwelcome surprises when temperatures drop. By investing a little time now to winterize your plumbing, you’ll protect your home’s value, comfort, and safety all season long.
Understanding the Risks: What Can Go Wrong in Winter
Plumbing systems are particularly vulnerable during cold snaps. When water in pipes freezes, it expands—exerting tremendous pressure on pipe walls. This can lead to cracks or bursts, especially in uninsulated or exterior-exposed lines. Other risks include:
- Outdoor Faucets: Unprotected hose bibs can freeze, causing interior pipes to rupture.
- Sprinkler Systems: Water left in irrigation lines can freeze and crack pipes or sprinkler heads.
- Water Heaters: Fluctuating temperatures can stress tanks and reduce efficiency.
- Unattended Vacant Homes: Unused plumbing lines are at higher risk if heat is turned off or set too low.
Understanding these risks is the first step to preventing them. The following checklist addresses each vulnerability, ensuring no critical detail is overlooked.
Step 1: Inspect and Insulate Exposed Pipes
Identify Vulnerable Pipes
Start by walking through your home and identifying all pipes located in unheated spaces—basements, crawl spaces, attics, garages, and exterior walls. Pay particular attention to:
- Basement ceiling pipes near exterior walls
- Pipes under kitchen or bathroom sinks on exterior walls
- Pipes running through unheated garages or sheds
Insulation Materials and Techniques
Use pre-slit foam pipe insulation for straight runs and fiberglass wrap for irregular shapes or tight bends. For added protection in extremely cold climates, apply heat tape or heat cables following manufacturer instructions. Secure all insulation with appropriate tape, ensuring there are no gaps or exposed sections.
Step 2: Protect Outdoor Faucets and Hose Bibs
Disconnect and Drain Garden Hoses
Always detach hoses from outdoor faucets, as water trapped inside can freeze and back up into interior lines. Drain hoses thoroughly and store them indoors to prolong their lifespan.
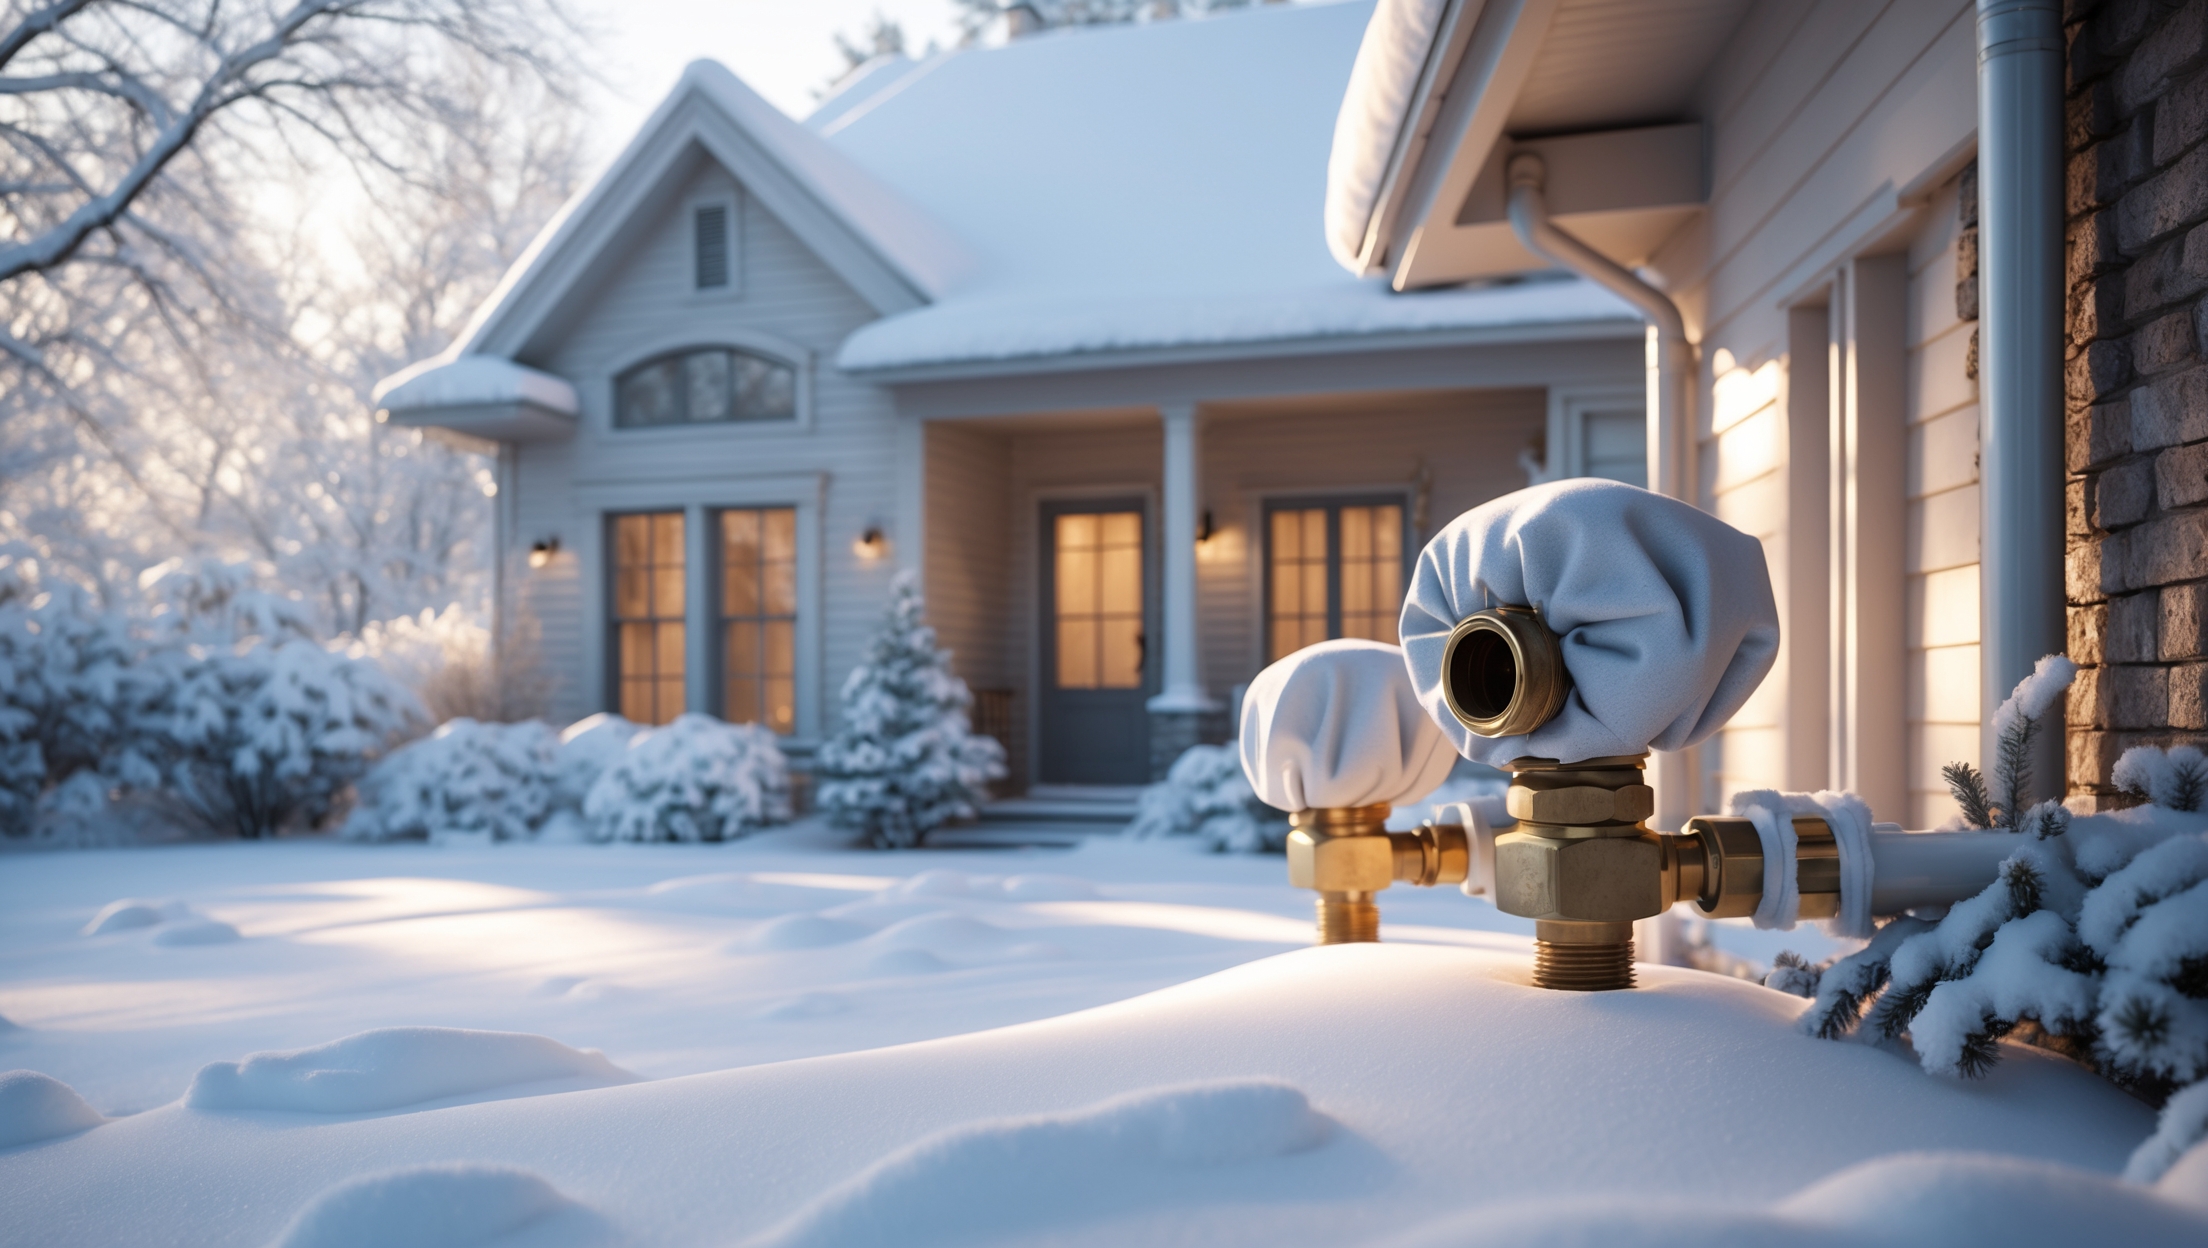
Install Faucet Covers
Add insulated faucet covers or foam domes to all exterior hose bibs. For frost-free spigots, ensure the mechanism is fully functioning and that the interior shut-off valve is closed, if available. Drain residual water by opening the exterior faucet after shutting off the interior valve.
Step 3: Winterize Irrigation and Sprinkler Systems
Shut Down and Drain Systems
Turn off the main water supply to your sprinkler system. Use the system’s manual drain valve, automatic drain valves, or compressed air to blow out any remaining water. For complex systems, hiring a professional for a blow-out service is often a wise investment to ensure all lines are clear.
Insulate Backflow Preventers
Wrap above-ground backflow preventer devices and exposed piping with insulation or foam covers to prevent freezing.
Step 4: Service and Adjust Your Water Heater
Temperature Check
Set your water heater thermostat to 120°F (49°C), which balances efficiency and freeze prevention. Lower temperatures can save energy, but never drop below 120°F, as this risks bacterial growth and insufficient freeze protection.
Flush the Tank
Drain a few gallons from the tank to remove sediment buildup, which can cause inefficiency or even tank failure under winter stress. Follow your manufacturer’s instructions for safe flushing.
Insulate the Tank and Pipes
Wrap the water heater (unless it’s already insulated) with a specially designed blanket. Insulate the first six feet of hot and cold water pipes connected to the unit to minimize heat loss and reduce the risk of freezing in borderline areas.
Step 5: Prepare for Extended Absence or Vacant Homes
Drain the Plumbing System
If you’ll be away for more than a few days, especially in a second home or rental, consider draining the system completely. Shut off the main water supply and open all faucets—from the highest to the lowest point in the house—to allow water to drain. Flush toilets and drain tanks. Pour a small amount of antifreeze (non-toxic, RV/marine grade) into drains and toilet bowls to prevent trap freezing.
Set the Thermostat
Never set the home’s heating below 55°F (13°C). This keeps interior spaces, walls, and pipes above freezing, even during severe cold snaps.
Enlist a House Sitter or Neighbor
If possible, have someone check on the property periodically. Early detection of leaks or drops in temperature can save thousands in damage.
Step 6: Monitor Crawl Spaces, Attics, and Basements
Seal Drafts and Openings
Inspect foundations, crawl space vents, and attic access doors for drafts or air leaks. Use spray foam, weatherstripping, or rigid insulation to close gaps. Cold air infiltration increases the risk of pipe freezing.
Install Pipe Insulation or Heat Tape
In unheated crawl spaces or attics, wrap all pipes thoroughly. For areas that regularly experience sub-freezing temperatures, install thermostatically controlled heat tape for added peace of mind.
Consider Temporary Heat Sources
For high-risk areas, a low-wattage utility heater or heating cable (designed for crawl spaces) can provide extra protection during extreme cold. Always follow safety guidelines for any electric devices used in these spaces.
Step 7: Test and Maintain Sump Pumps and Drains
Check Sump Pump Operation
Test your sump pump by pouring water into the sump pit and ensuring it activates and drains efficiently. Clean debris from the pit and check the discharge line for blockages or freezing risk. Sump pump failure during winter thaws can result in basement flooding.
Clear Floor Drains and Outdoor Drainage
Ensure all floor drains in basements and utility rooms are clear of obstructions. Remove leaves, ice, or snow from exterior drainage paths to allow melted snow and rain to flow away from your home’s foundation.
Step 8: Maintain Indoor Plumbing Fixtures
Let Faucets Drip in Extreme Cold
During severe cold snaps, allow a trickle of water to run from faucets served by pipes along exterior walls. Moving water is less likely to freeze. This is especially important for seldom-used bathrooms, utility sinks, or laundry rooms.
Open Cabinet Doors
In kitchens and bathrooms where pipes run through exterior walls, open cabinet doors to allow warm air to circulate around pipes.
Step 9: Emergency Readiness—Know What to Do if a Pipe Freezes
Locate the Main Water Shut-Off Valve
Every household member should know where the main shut-off valve is located and how to use it. In the event of a burst pipe, shutting off water quickly can drastically reduce damage.
Thawing Frozen Pipes Safely
- Turn off the water supply immediately.
- Apply gentle heat using a hair dryer, heat lamp, or towels soaked in hot water. Never use open flames.
- Start heating near the faucet end and work toward the coldest section.
- Check for leaks as the pipe thaws—be ready to shut off water again if a crack is discovered.
When to Call a Professional
If you cannot locate or safely thaw a frozen pipe, or if you discover a burst or leaking pipe, call a licensed plumber immediately. Quick action limits damage and can prevent mold growth and structural issues.
Step 10: Review and Update Your Winter Plumbing Checklist Annually
Every home is different, and weather patterns vary year to year. Make it a habit to review your winterizing checklist each autumn. Note any new vulnerabilities, recent repairs, or upgrades. Keep records of service dates for water heaters, sump pumps, and other critical equipment.
Conclusion: Peace of Mind Through Proactive Winter Prep
Winterizing your home’s plumbing system is one of the most impactful steps you can take to protect your property and avoid costly emergencies. While the process may seem involved, each task is a manageable piece of a larger safety net. By following this detailed checklist—from insulating exposed pipes and protecting outdoor fixtures to maintaining your water heater and preparing for absences—you greatly reduce the risk of frozen pipes, bursts, and water damage.
Remember, the key to a trouble-free winter is preparation. Don’t wait until the first deep freeze to think about your pipes. A few hours spent on proactive measures now can save you significant time, money, and stress in the months ahead. Keep your checklist handy, review it annually, and stay vigilant for changes in your home or climate. Most importantly, recognize when to call in a professional—sometimes, the best investment is expert help, especially with complex or high-risk situations.
With the right preparation and ongoing maintenance, your home’s plumbing system will remain resilient, efficient, and ready to keep you comfortable through even the harshest winter. Take action today, and enjoy the peace of mind that comes from knowing your home is protected from the elements.
For outdoor faucets and hose bibs, do you recommend using foam covers alone or actually shutting off and draining the water supply to those lines for the winter?
It’s best to shut off and drain the water supply to outdoor faucets and hose bibs before winter. Foam covers add extra protection, but draining the lines is the most effective way to prevent freezing and damage.
If my home will be vacant for a couple of weeks during a cold snap, what temperature should I leave my thermostat at to minimize risk to the plumbing but avoid unnecessary heating costs?
To minimize the risk of frozen pipes while avoiding high heating bills, set your thermostat to at least 55°F before leaving. This keeps enough warmth in the home to protect the plumbing, even during a cold snap.
Is there a recommended minimum temperature to set the thermostat at in a vacant home to keep pipes from freezing, or does it vary depending on the location and insulation level?
It’s generally recommended to keep your thermostat set to at least 55°F (13°C) in a vacant home to help prevent pipes from freezing. However, this may vary depending on your local climate and how well your home is insulated. If your area experiences extremely cold weather or your home has poor insulation, you might want to set it a bit higher.
I’ve heard some people use heat tape along with pipe insulation. Is that necessary, or is insulation usually enough for most unheated spaces like basements or attics?
Pipe insulation alone is often enough for mildly cold unheated areas, but in very cold climates or drafty spots, combining heat tape with insulation adds extra protection against freezing. If your basement or attic gets extremely cold, using both is a safer choice to prevent pipe bursts.
If a pipe does freeze but hasn’t burst yet, what immediate steps should I take to minimize damage before calling a plumber?
If a pipe is frozen but not burst, turn off the main water supply right away. Gently warm the pipe with a hair dryer or towels soaked in hot water, starting near the faucet and moving toward the frozen section. Keep the faucet open to let water flow as it thaws.
When it comes to insulating pipes in my basement versus the attic, is there a difference in the recommended materials or insulation thickness for those areas?
Yes, there can be differences. In unheated attics, thicker insulation is often recommended since these areas get colder. Pipe insulation with an R-value of at least 3 is typical for attics, while standard foam sleeves may suffice in basements if they stay warmer. Always consider the specific temperature exposure when choosing insulation thickness and material.
You mentioned the risk to outdoor faucets and sprinkler systems—are there particular types of insulation or covers that work better for these vs. regular indoor pipes?
Yes, outdoor faucets and sprinkler systems benefit from specific insulation products. Use foam faucet covers or insulated bib covers for outdoor spigots, which are designed to withstand colder temperatures. For sprinkler system components above ground, insulated pipe sleeves or wrap-around pipe insulation work well. These options provide thicker, weather-resistant protection compared to what’s typically used indoors.
The article mentions insulating exposed pipes in crawl spaces and attics. Do you have any tips on the most effective insulation materials for pipes in really cold climates?
For really cold climates, foam pipe insulation with a higher R-value is very effective. You might also consider fiberglass pipe wrap for extra protection. In extremely low temperatures, combining insulation with heat tape or heating cables can provide added defense against freezing.