

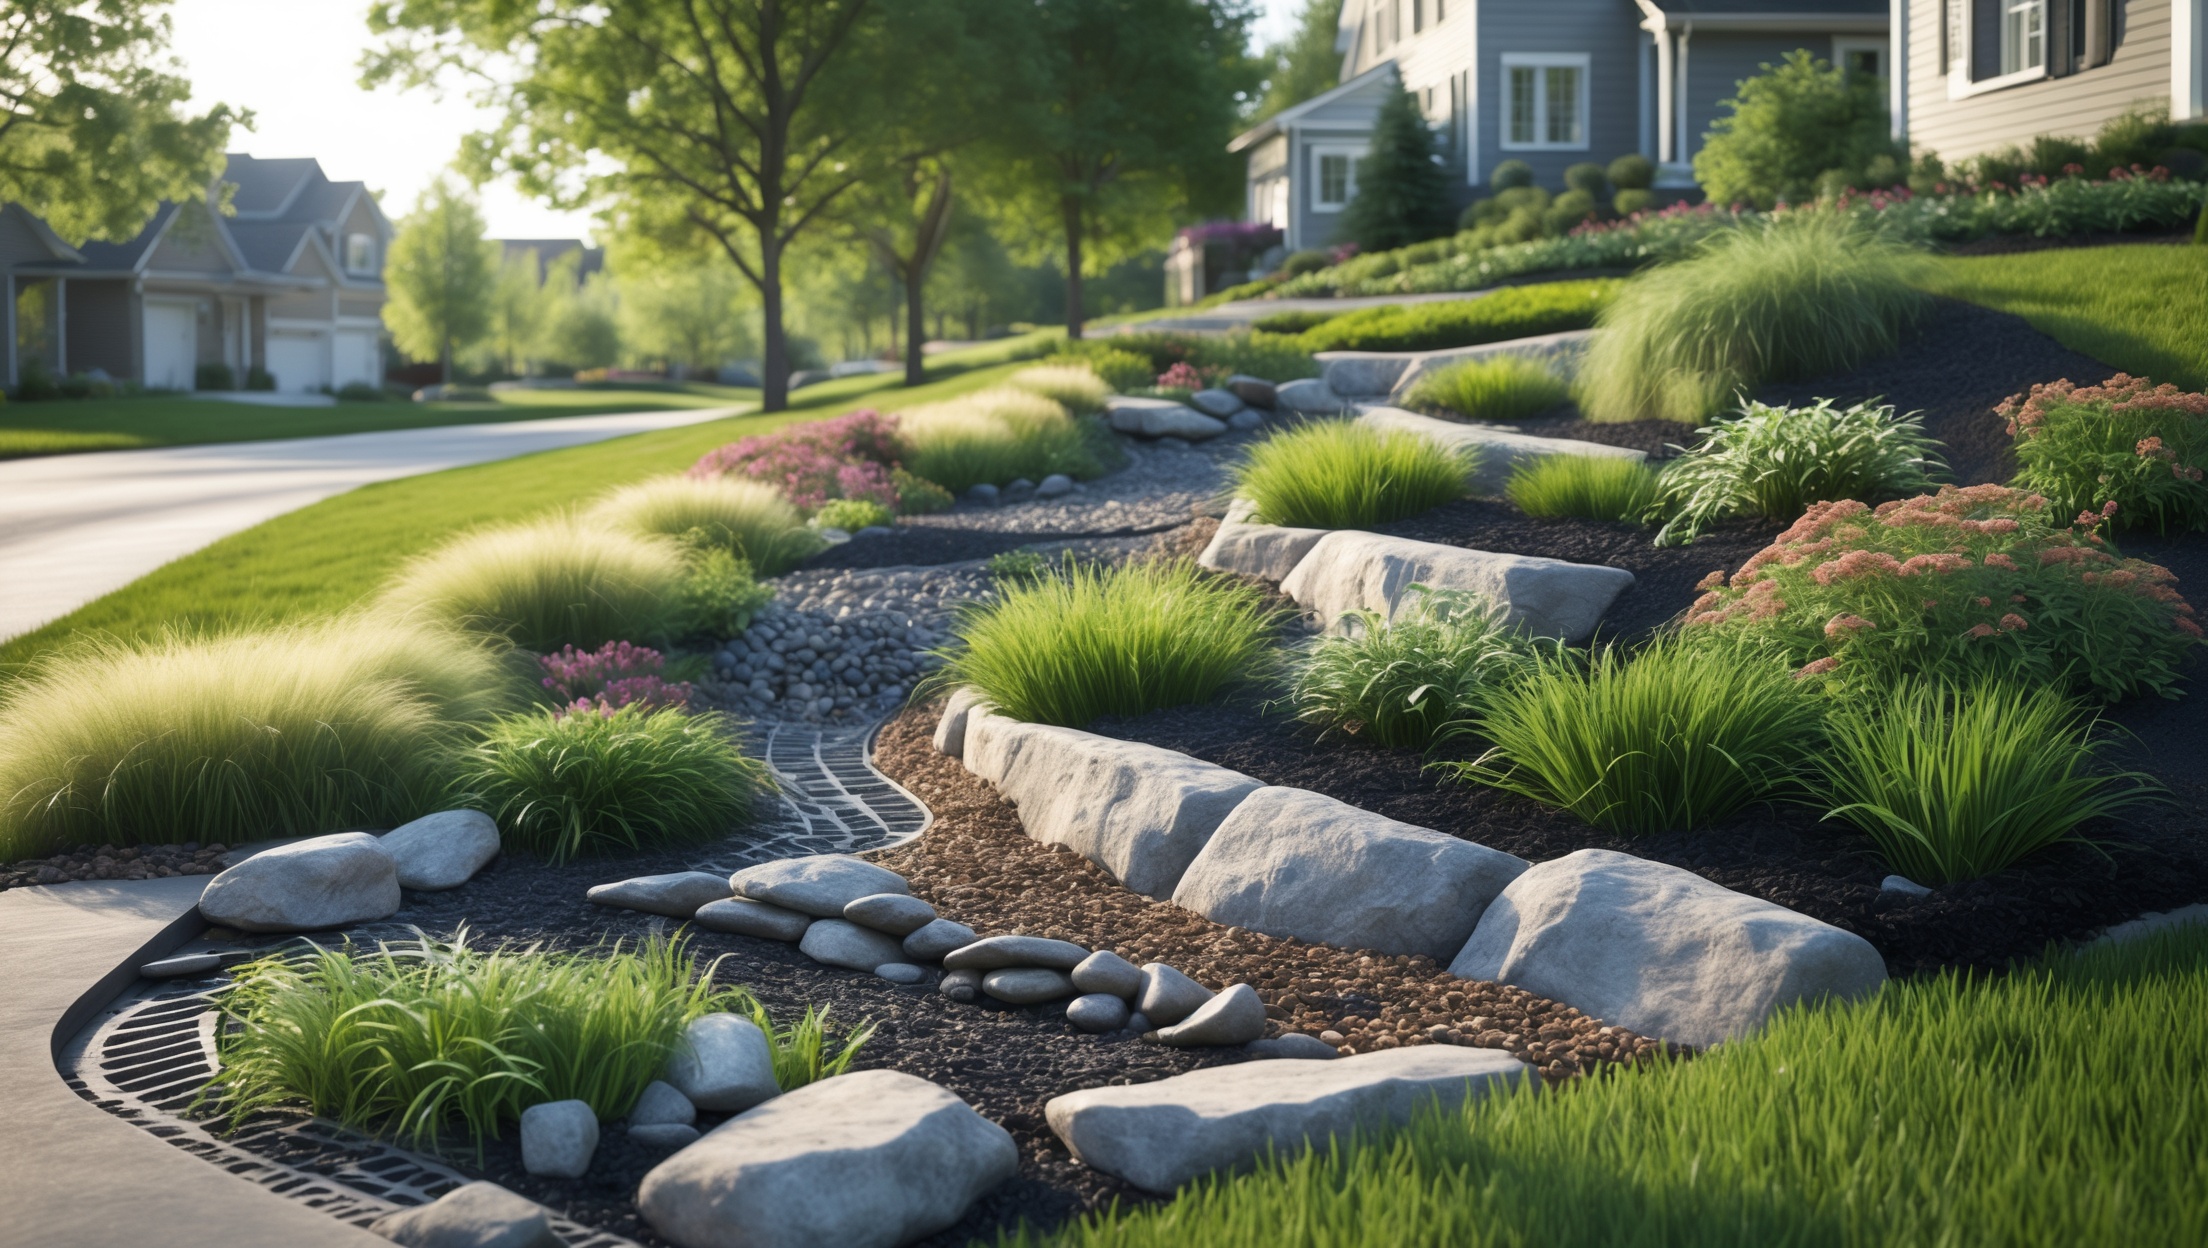
Introduction: The Benefits of a Rain Garden for Your Home
Imagine a home landscape that not only adds curb appeal but also actively helps the environment. A rain garden is a shallow, planted depression that collects and filters stormwater runoff from roofs, driveways, and other hard surfaces. Instead of letting rainwater gush down the street, picking up pollutants and overwhelming storm drains, a rain garden slows the flow, soaks up water, and supports local wildlife. The best part? With careful planning and the right plant choices, a rain garden can be surprisingly low-maintenance—making it an ideal project for homeowners seeking both sustainability and practicality.
This comprehensive guide will walk you through every step of creating your own low-maintenance rain garden. You’ll learn how to assess your yard, design for your climate and soil, choose the right plants, and handle installation and upkeep. Whether you’re a DIY enthusiast or just starting out, this tutorial offers actionable advice, checklists, and clear explanations to ensure your rain garden thrives for years with minimal effort. Let’s dig in and transform your outdoor space into a beautiful, functional ecosystem.
Understanding Rain Gardens: What, Why, and How
What Is a Rain Garden?
A rain garden is a landscaped area, typically a shallow basin, designed to capture and absorb rainwater runoff. Unlike a traditional garden, it’s engineered to manage water—reducing puddles, erosion, and water pollution. Rain gardens are usually planted with a mix of native grasses, flowers, and shrubs that tolerate both wet and dry conditions.
Why Install a Rain Garden?
- Reduces Runoff: Rain gardens help prevent flooding and erosion by absorbing water that would otherwise flow into storm drains.
- Filters Pollutants: Plants and soil in the garden break down or capture pollutants before they reach waterways.
- Supports Wildlife: Native plants provide habitat and food for birds, butterflies, and beneficial insects.
- Boosts Property Value: Thoughtfully designed rain gardens add beauty and interest to your landscape.
- Requires Minimal Maintenance: Once established, native plant rain gardens need little care beyond occasional weeding and seasonal cleanup.
How Rain Gardens Work
Rain gardens are sited to intercept runoff from roofs, driveways, or patios. Water flows into the garden, where it slowly percolates into the ground. The soil and plant roots act as a natural filter, removing excess nutrients, oil residues, and sediments. The garden dries out between storms, making it an attractive landscape feature year-round.
Planning Your Rain Garden: Site Selection and Design
Step 1: Assess Your Yard
Start by observing where water flows and collects on your property during rain. Your rain garden should be placed downhill from runoff sources, at least 10 feet from your home’s foundation to avoid seepage problems. Avoid areas with poor drainage, high water tables, or underground utilities.
- Tip: Walk outside during a rainfall to see natural drainage patterns.
- Check: Local municipal guidelines—some areas have incentives or restrictions for rain gardens.
Step 2: Sizing the Rain Garden
The size depends on the area draining into it and your soil’s infiltration rate. As a rule of thumb, the rain garden should be about 10–20% of the area that drains to it. For example, if your roof and driveway total 1000 square feet, aim for a rain garden of 100–200 square feet.
- Test: Dig a hole about 6 inches deep, fill with water, and time how long it takes to drain. If it drains within 24 hours, your soil is suitable.
Step 3: Shape and Layout
Rain gardens are typically kidney-shaped or oval to blend into the landscape. The deepest part should be in the center, sloping gently from the edges. Plan for a depth of 6–8 inches to allow enough water capture without becoming a pond.
Step 4: Designing for Low Maintenance
- Use native plants adapted to local conditions—they require less water, fertilizer, and pest control.
- Include mulch to suppress weeds and retain moisture.
- Group plants by water needs: put the most flood-tolerant species in the center, drought-tolerant ones at the edges.
Materials and Tools: What You’ll Need
- Shovels (flat and round-point)
- Wheelbarrow
- Garden rake
- Stake and string or marking paint
- Level
- Compost or soil amendments (if needed)
- Mulch (shredded bark or wood chips)
- Native plants (see plant lists below)
- Landscape fabric (optional, for weed suppression in borders)
- Decorative rocks or edging (optional, for aesthetics and erosion control)
Step-by-Step Installation Guide
Step 1: Mark and Excavate
Outline the shape of your rain garden with string, stakes, or spray paint. Remove grass and weeds from the area. Excavate to 6–8 inches, sloping gently toward the center. Pile the removed soil nearby for later use in berms or other landscaping.
- If the ground is compacted, loosen the soil in the bottom of the basin to improve infiltration.
Step 2: Amend the Soil (If Necessary)
Test your soil. If it’s heavy clay, mix in compost or sand (at a ratio of 1:1:1—topsoil, sand, compost) to promote drainage. In sandy soils, add compost to improve moisture retention. Aim for a rich, crumbly texture.
Step 3: Create Berms and Inflow
Use excavated soil to build a berm (low mound) on the downhill side of the garden to contain water. Shape the berm smoothly and tamp it down. Dig a shallow swale or trench to direct runoff from gutters or driveways into the garden. Line the inlet with rocks to prevent erosion.
Step 4: Plant Selection and Layout
- Choose native species suited to your region’s rainfall and climate.
- In the center (wettest zone): select plants like Blue Flag Iris, Sedges, or Swamp Milkweed.
- Mid-slope: plant Black-eyed Susan, Bee Balm, Coneflower.
- Edges (driest): use Little Bluestem, Prairie Dropseed, or Butterfly Weed.
- Space plants according to their mature size, and stagger heights for visual appeal.
Step 5: Planting
Dig holes twice the width of each plant’s root ball. Place plants at the same depth as in their pots. Firm the soil around each plant and water thoroughly. Group species in drifts for a natural look and easier maintenance.
Step 6: Mulching
Apply a 2–3 inch layer of shredded bark or wood chips around plants, leaving a small gap around each stem. Mulch conserves moisture, moderates soil temperature, and suppresses weeds.
Step 7: Final Touches
- Add decorative rocks at the inlet and outlet for erosion control.
- Install edging to keep mulch in place and define garden borders.
- Label plant groupings if you want to track species performance.
Low-Maintenance Plant Choices by U.S. Region
Northeast & Midwest
- Blue Flag Iris (Iris versicolor)
- Swamp Milkweed (Asclepias incarnata)
- Joe Pye Weed (Eutrochium purpureum)
- Switchgrass (Panicum virgatum)
Southeast
- Virginia Sweetspire (Itea virginica)
- Cardinal Flower (Lobelia cardinalis)
- Southern Blue Flag Iris (Iris virginica)
- Little Bluestem (Schizachyrium scoparium)
West & Southwest
- California Goldenrod (Solidago californica)
- Deer Grass (Muhlenbergia rigens)
- Western Blue-eyed Grass (Sisyrinchium bellum)
- Desert Willow (Chilopsis linearis)
Pacific Northwest
- Red-twig Dogwood (Cornus sericea)
- Oregon Iris (Iris tenax)
- Camas Lily (Camassia quamash)
- Sword Fern (Polystichum munitum)
Maintenance Best Practices for a Thriving, Low-Upkeep Rain Garden
Year One: Establishment
- Water new plantings regularly during dry periods—about 1 inch per week for the first growing season.
- Weed as needed to prevent invasives from taking hold. Mulch will suppress most annual weeds.
- Check for erosion or standing water after storms. Adjust mulch, rocks, or the berm if necessary.
After Establishment: Ongoing Care
- Remove weeds 2–3 times per season (native plants outcompete weeds once established).
- Replenish mulch annually or as needed to maintain a 2-inch layer.
- Prune dead stems in late winter or early spring to allow new growth.
- Monitor the inlet and outlet for sediment buildup; clear obstructions promptly.
What to Avoid
- Do not over-fertilize—native plants generally do not need it and excess nutrients can pollute runoff.
- Avoid using pesticides or herbicides near your rain garden to protect pollinators and water quality.
- Don’t plant aggressive species that can crowd out natives or become invasive.
Compliance, Permits, and Insurance Considerations
Check with your local municipality or county extension office for any restrictions or permit requirements. Some cities offer rebates or credits for installing rain gardens. If your home is governed by a homeowner association (HOA), review landscaping guidelines and notify the board if required.
Rain gardens rarely affect home insurance, but if your project involves significant regrading, contact your agent to confirm there are no coverage implications.
Common Rain Garden Myths Debunked
- “Rain gardens are mosquito magnets.” Not true—rain gardens are designed to drain within 24–48 hours, well before mosquitoes can breed.
- “They’re hard to maintain.” A well-designed native plant rain garden is easier to care for than a traditional lawn or perennial bed, especially after the first year.
- “They require constant watering.” Native species are adapted to local conditions and thrive with natural rainfall once established.
Case Study: Transforming a Suburban Yard With a Rain Garden
Consider the experience of the Martins, a family in the Midwest who struggled with water pooling near their basement after storms. With professional guidance, they installed a kidney-shaped rain garden, 200 square feet in size, downhill from their downspouts. They chose native sedges, purple coneflower, and blue flag iris, adding mulch and a decorative rock border. After the first season, the garden flourished. Stormwater no longer pooled near the house, and the family observed an uptick in butterflies and songbirds. Maintenance now consists of occasional weeding and pruning each spring.
Conclusion: Your Path to a Sustainable, Beautiful Home Landscape
Building a low-maintenance rain garden is one of the most rewarding DIY home improvement projects you can undertake. It combines function and beauty, manages stormwater, and supports local ecosystems—all with lower upkeep than a traditional garden. By following the steps in this guide, you’ll not only reduce your property’s runoff and protect water quality, but also create a vibrant landscape feature that evolves beautifully over the seasons.
Remember, the key to long-term success is thoughtful planning and plant selection. Take the time to observe your yard’s drainage patterns, choose the right site and size, and use regionally appropriate native plants. The initial effort pays off with years of easy-care enjoyment. If you ever need inspiration, look to local demonstration gardens or connect with a native plant society for advice tailored to your microclimate.
With patience and a bit of sweat equity, your rain garden can become a legacy—benefiting your home, your neighborhood, and the environment for generations to come. So gather your tools, sketch your design, and take the first step toward a greener, healthier yard today.