

Introduction: Why Safety Matters in DIY Insulation
Upgrading your home’s insulation is one of the most cost-effective ways to boost energy efficiency, cut utility bills, and improve year-round comfort. For many homeowners, tackling insulation projects themselves is an appealing way to save on labor costs and learn new skills. However, insulation work brings its own set of safety challenges. From handling potentially irritating materials to working in tight or elevated spaces, the risks are real—and often underestimated. Every year, thousands of DIYers suffer preventable injuries or property damage during insulation installations because they skip critical safety steps.
This comprehensive safety checklist is your guide to protecting both your home and yourself during any DIY insulation upgrade. Whether you’re insulating an attic, walls, crawlspace, or basement, following these best practices will help you avoid common hazards, stay compliant with codes, and ensure your hard work delivers lasting results. We’ll cover essential preparations, the right protective gear, safe handling of materials, ventilation, electrical considerations, tool use, and important cleanup protocols. Let’s make your insulation project a success—safely.
Planning and Preparation: Setting Up for Safety
Assess the Project Area
- Inspect for Existing Hazards: Before you start, check for exposed wiring, mold, pests, or structural issues in the area to be insulated. Address these problems first; insulation will only mask underlying dangers.
- Identify Access Points: Measure entryways to attics or crawlspaces. Ensure you have safe, stable access—consider temporary platforms or ladders rated for your weight and supplies.
- Evaluate Ventilation: Poor ventilation can lead to heat exhaustion or dangerous dust buildup. Plan for open windows, fans, or respirators as needed.
Gather Documentation and Permits
- Check Local Codes: Some municipalities require permits for insulation work. Verify requirements with your local building department—especially when working near electrical or plumbing systems.
- Utility Company Notifications: If your project involves areas near electrical lines or major appliances, contact your utility company for safety advice or temporary shutoff options.
Prepare Your Workspace
- Clear the Area: Remove stored items, debris, or unnecessary tools. A clutter-free workspace reduces trip hazards and allows for faster emergency egress if needed.
- Lay Drop Cloths: Protect flooring and finishes from dust, debris, or accidental spills with durable drop cloths or plastic sheeting.
- Organize Tools and Supplies: Arrange everything you’ll need in an accessible location outside the immediate work zone. This minimizes unnecessary movement and distractions during installation.
Personal Protective Equipment (PPE): Don’t Start Without It
Essential PPE for Insulation Projects
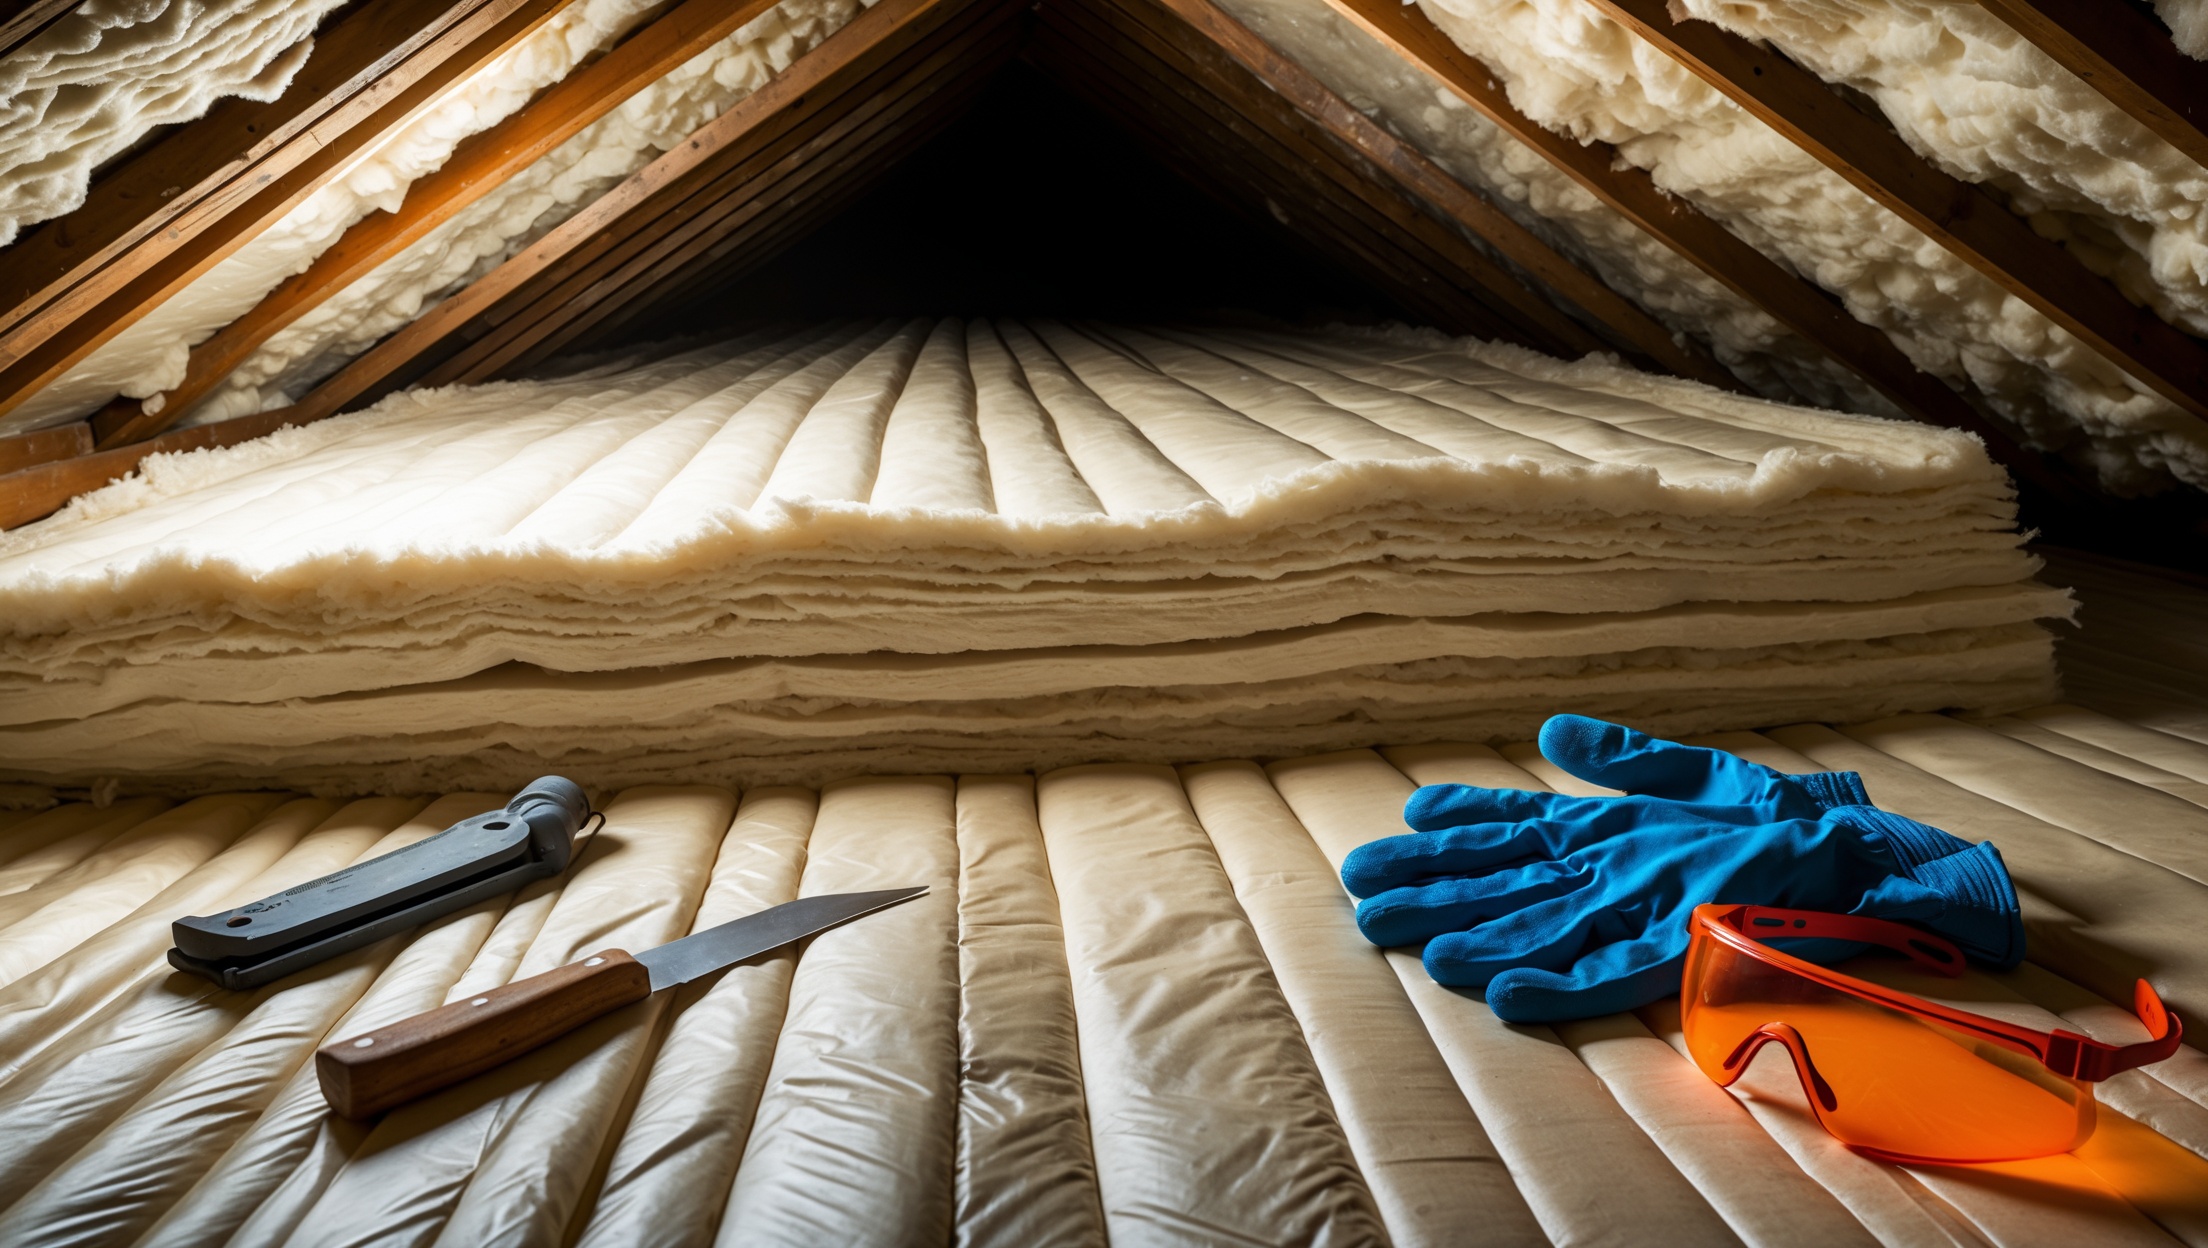
- Gloves: Use heavy-duty work gloves. Fiberglass and mineral wool can cause skin irritation; foam insulation may contain chemicals that require chemical-resistant gloves.
- Eye Protection: Wear safety goggles or wraparound glasses to prevent fibers and debris from entering your eyes, especially when cutting or handling batts and loose fill.
- Respiratory Protection: A NIOSH-approved respirator or dust mask (rated N95 or higher) is critical when working with fiberglass, mineral wool, or spray foam. Never substitute with a simple cloth mask.
- Long-Sleeve Shirts and Pants: Minimize skin exposure with tightly woven, long-sleeve clothing and full-length pants. Tuck sleeves into gloves for added protection.
- Head Protection: In attics or crawlspaces, a bump cap or hard hat can protect against low beams or protruding nails.
- Knee Pads: Prolonged kneeling on hard surfaces can cause discomfort or injury. Use padded kneepads for attic or crawlspace work.
Optional PPE for Specific Situations
- Coveralls: Disposable coveralls add a further barrier against fibers and dust. Ideal for large projects or particularly dusty environments.
- Boot Covers: Protect your footwear and prevent tracking debris through your home.
- Hearing Protection: For projects involving power tools or working near HVAC equipment, use earplugs or earmuffs.
Safe Handling and Installation of Insulation Materials
Material-Specific Safety Tips
- Fiberglass and Mineral Wool: Always handle with gloves and respiratory protection. Unroll batts gently to minimize airborne fibers. Cut with a sharp utility knife on a firm surface; avoid tearing.
- Spray Foam: Work in a well-ventilated area. Follow the manufacturer’s instructions for mixing and application. Wear chemical-resistant gloves and full-face protection. Allow adequate curing time before re-entering the space.
- Blown-In Insulation: Use the manufacturer-provided blower and never attempt to modify equipment. Keep the machine outside if possible to reduce indoor dust. Only one person should operate the machine at a time.
- Rigid Foam Boards: Cut with a fine-toothed saw or specialized insulation knife. Support the board fully to prevent snapping, which can cause sharp edges and projectiles.
General Installation Safety
- Watch for Electrical Hazards: Never install insulation over exposed wires or electrical boxes. Use insulation designed for contact with electrical components, or maintain code-mandated clearances.
- Mind Vapor Barriers: Install vapor barriers according to climate zone and manufacturer guidelines. Improper placement can trap moisture, leading to mold or structural damage.
- Avoid Blocking Vents: Ensure soffit and roof vents remain unobstructed to maintain attic airflow and prevent condensation.
- Handle Old Insulation Cautiously: If you encounter insulation installed before the 1990s, stop work and consult a professional. Some old materials contain asbestos, which is highly dangerous when disturbed.
Electrical, Lighting, and Fire Safety Precautions
Electrical System Considerations
- Turn Off Power: Before starting work, turn off circuits to the area you’ll be working in. Use a non-contact voltage tester to confirm wires are not live.
- Identify Knob-and-Tube Wiring: Classic knob-and-tube systems (pre-1950s) require special handling. Insulation should never cover this type of wiring; consult an electrician if you find it.
- Maintain Clearance Around Fixtures: Keep insulation at least three inches away from non-IC-rated recessed lights and heat-producing fixtures. Use approved insulation dams or barriers as needed.
Fire Safety During and After Installation
- Choose Fire-Resistant Insulation: Many modern products are treated for fire resistance, but always verify ratings for your specific materials.
- Seal Gaps Safely: Use fire-rated caulk or foam around electrical boxes and penetrations, especially in attics and basements.
- Keep Flammable Materials Separate: Store adhesives, solvents, and other flammable chemicals away from insulation materials and heat sources.
- Have an Extinguisher Ready: Keep a Class A fire extinguisher in the work area at all times.
Tool Safety: Using the Right Equipment the Right Way
Common Tools for DIY Insulation
- Utility knife or insulation knife
- Measuring tape
- Staple gun (manual or electric)
- Blower (for loose-fill insulation)
- Straightedge or insulation board cutter
- Respirator or dust mask (see PPE above)
Tool Safety Guidelines
- Sharp Blades: Always cut away from your body and keep extra blades stored safely. Replace dull blades frequently to reduce the risk of slips.
- Stable Platforms: When cutting or stapling in attics or on ladders, use a stable, non-slip surface. Never overreach; reposition your platform as needed.
- Electrical Tools: Inspect cords for damage before use. Never operate power tools in wet or damp conditions.
- Teamwork: For large or awkward pieces, ask for help. Many injuries occur when DIYers try to do too much alone.
Post-Installation Cleanup and Disposal
Safe Cleanup Practices
- Wet Cleanup: Use a damp cloth or mop to collect fine dust. Avoid sweeping or vacuuming with standard vacuums, which can spread fibers into the air. Use a HEPA-filter vacuum if necessary.
- Remove PPE Carefully: Take off gloves, coveralls, and respirators outside your living space. Wash exposed skin thoroughly with cool water to remove fibers.
- Launder Work Clothes Separately: Wash all work clothing separately from household laundry, using hot water to remove insulation fibers.
Disposal of Waste Materials
- Bag and Seal Debris: Place all insulation scraps and dust in heavy-duty contractor bags. Seal tightly to prevent the escape of fibers.
- Check Local Disposal Guidelines: Some types of insulation are considered hazardous waste and require special handling. Contact your local waste authority for instructions.
- Recycle Where Possible: Rigid foam boards and some batts may be recyclable. Separate clean, uncontaminated scraps and dispose of accordingly.
Frequently Overlooked Safety Tips
- Stay Hydrated: Working in attics or crawlspaces can be extremely hot. Take regular breaks and drink water frequently.
- Work in Pairs: Whenever possible, have a partner on site. They can assist in emergencies or help manage large materials.
- Monitor Weather Conditions: For exterior wall or attic insulation, avoid working during extreme heat, cold, or storms.
- Child and Pet Safety: Keep children and pets away from the work zone and storage areas for insulation materials.
- Document Your Work: Take before-and-after photos and note the materials used. This can be helpful for future repairs or home sales.
Conclusion: Insulate with Confidence—Safely
DIY insulation projects offer significant rewards, but only if approached with respect for the potential hazards involved. By following this comprehensive safety checklist, you’re not just protecting yourself from immediate injuries—you’re also safeguarding your home’s structural integrity, indoor air quality, and long-term energy efficiency. Remember, every step, from planning and PPE selection to careful installation and thorough cleanup, contributes to a safer, more effective result.
Never rush the process or cut corners, especially when handling unfamiliar materials or working in tricky spaces. If you encounter unexpected hazards—like old insulation, hidden electrical wiring, or structural damage—don’t hesitate to call in a professional. Safety should always be your top priority, even for experienced DIYers. With preparation, the right equipment, and a methodical approach, you can take pride in a job well done—and enjoy the comfort and savings of a well-insulated home for years to come.
For more expert home improvement tips, check our blog for detailed tool guides, compliance checklists, and maintenance best practices to keep your DIY journey safe and successful.
Could you explain a bit more about what kind of protective gear is best for handling different types of insulation, like fiberglass versus spray foam? I want to make sure I’m using the safest equipment for the specific material.
For fiberglass insulation, wear gloves, long sleeves, safety goggles, and a dust mask or respirator to prevent skin and respiratory irritation. For spray foam, use chemical-resistant gloves, a full-face respirator, and protective coveralls with a hood, since the chemicals can be hazardous during application. Always check manufacturer recommendations for each product.
If there are exposed wires in the attic, should I hire an electrician before starting the insulation project, or are there temporary precautions I can safely take myself?
If you notice exposed wires in your attic, it’s safest to hire a licensed electrician before starting any insulation work. Handling or working near exposed wiring can be very dangerous. Temporary precautions are not recommended, as improper handling can lead to electric shock or fire risks.