

Introduction: Why a Whole-House Water Filtration System?
Homeowners are increasingly concerned about the quality of their tap water—not just for drinking, but for bathing, cooking, laundry, and cleaning. While point-of-use filters (like pitchers or faucet attachments) address drinking water, they leave the rest of your home’s water unfiltered. Enter the whole-house water filtration system: a comprehensive solution that treats all the water entering your home, protecting against sediment, chlorine, heavy metals, and other contaminants. Installing such a system may seem daunting, but with the right planning and know-how, it’s a manageable DIY project that pays dividends in healthier living and longer-lasting appliances. This in-depth guide will walk you through each step of selecting, installing, and maintaining a whole-house water filtration system, covering essential tools, budgeting tips, compliance considerations, and best practices for ongoing performance.
Understanding Whole-House Water Filtration Systems
How They Work
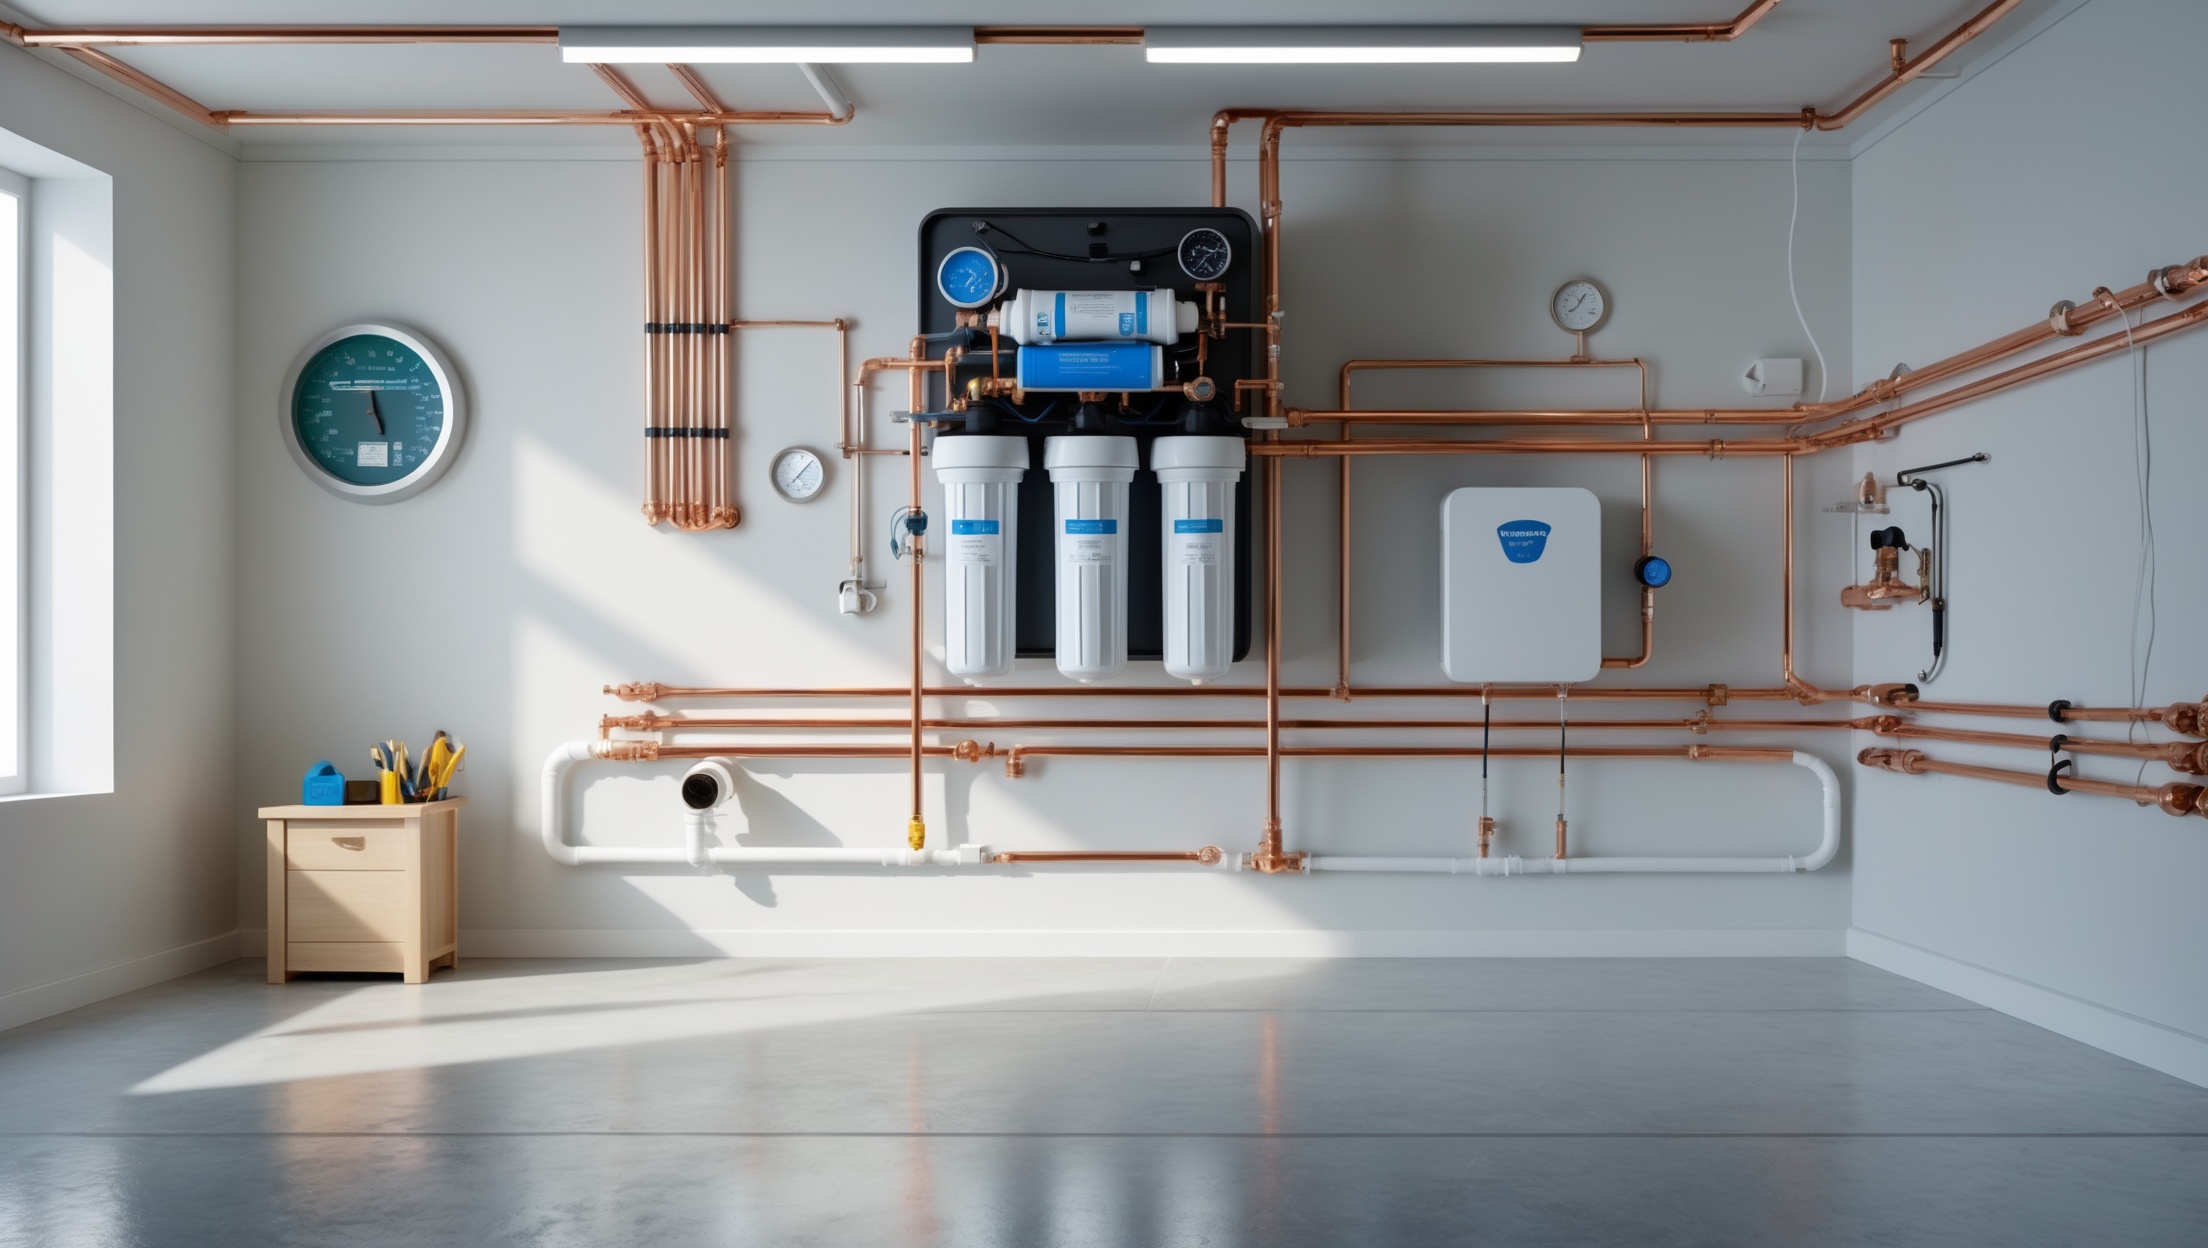
A whole-house water filtration system, also called a point-of-entry (POE) system, is typically installed where your main water line enters your home. This ensures that every faucet, shower, and appliance receives filtered water. Most systems utilize a series of filters—sediment, carbon, and sometimes specialty cartridges—to remove particles, chlorine, odors, and specific contaminants based on your local water quality.
Common Types
- Standard Cartridge Systems: Use replaceable filter cartridges for sediment and chemical reduction. Affordable and widely available.
- Backwashing Systems: Self-cleaning systems with media beds (like activated carbon or KDF) that last several years with minimal maintenance.
- UV Purification Add-Ons: Kill bacteria and viruses using ultraviolet light, often used in conjunction with filtration.
Key Benefits
- Improved taste and odor of all household water.
- Protection for plumbing and appliances from scale and sediment buildup.
- Reduced exposure to chemicals and contaminants in showers and baths.
- Potentially longer life for water heaters, dishwashers, and laundry machines.
Budgeting and Cost Considerations
Initial Costs
The total investment for a whole-house filtration system typically ranges from $400 to $2,500, depending on the complexity and quality of the system. Basic cartridge systems are at the lower end, while multi-stage or backwashing media filters, or systems with UV sterilization, are more expensive.
- Filtration unit: $250–$1,800
- Installation materials (valves, fittings, piping): $50–$200
- Professional installation (if not DIY): $500–$1,200
Ongoing Costs
- Replacement cartridges: $30–$150 per year (frequency depends on water quality and usage)
- Media replacement (backwashing systems): Every 5–10 years, $200–$600
- UV bulb replacement (if applicable): $60–$120 annually
Budgeting Tips
- Test your water before purchasing to avoid overspending on unnecessary filtration stages.
- Factor in the lifespan and replacement cost of filters when comparing systems.
- Account for any plumbing upgrades or additional shutoff valves you may need.
Tools and Equipment You’ll Need
- Pipe cutter (for copper, PEX, or PVC)
- Adjustable wrench and pliers
- Teflon tape or pipe thread sealant
- Bucket and towels (for catching water during pipe cuts)
- Drill and mounting hardware (for securing the system to the wall)
- Pipe wrenches (if working with galvanized steel)
- Level (to ensure system is mounted straight)
- Marker or pencil
- Shutoff valve and bypass valve kit (highly recommended for maintenance)
- Replacement filters or media (as required by your system)
Compliance, Permits, and Safety
Do You Need a Permit?
In most municipalities, swapping out a section of pipe to install a filtration system does not require a permit if you are not modifying the main water meter or tapping into the municipal supply itself. However, always check your local building codes. If you live in a home with lead pipes, or in areas with specific plumbing regulations, a permit or inspection may be needed.
Backflow Prevention
Some regions require the installation of a backflow preventer to protect municipal water from possible contamination. Consult your water provider or a licensed plumber if unsure.
Safety Precautions
- Shut off the main water supply before starting any work.
- Relieve pressure by opening the lowest faucet in your home.
- Wear safety glasses and gloves when cutting pipes.
- If your home uses well water, disconnect power to the pump before cutting pipes.
Step-by-Step Installation Tutorial
1. Choose the Right Location
Install the filtration system as close as possible to where the main water line enters your house, but after the shutoff valve. Ensure there is enough space for the unit and for cartridge changes or maintenance. Avoid areas exposed to freezing temperatures.
2. Plan Your Pipe Cuts
- Mark the section of pipe to be removed. Account for the length of the filter housing and any fittings.
- Have a bucket and towels ready to catch residual water.
3. Cut and Prepare the Pipes
- Use the appropriate cutter for your pipe type (copper, PEX, PVC, or galvanized steel).
- Deburr and clean the pipe ends to ensure a tight, leak-free fit.
4. Install Shutoff and Bypass Valves (Recommended)
Installing a bypass valve allows you to maintain water flow to your home while servicing the filter. Place shutoff valves on both the inlet and outlet sides of the filter.
5. Mount the Filter System
- Secure the bracket to a wall stud or solid surface using a level.
- Assemble the filter housings (without filters) to ensure proper alignment.
6. Connect the Piping
- Attach the inlet and outlet pipes to the filter housing using the provided fittings. Apply Teflon tape or pipe sealant to threaded connections.
- If adapting between pipe types (e.g., copper to PEX), use approved transition fittings.
7. Install the Filter Cartridges
- Once the system is plumbed, install the sediment and carbon cartridges according to manufacturer instructions.
- Hand-tighten filter housings, then use the filter wrench for a snug fit—avoid overtightening.
8. Check for Leaks and Flush the System
- Slowly turn on the main water supply.
- Open a downstream faucet and check for leaks at every connection.
- Flush the system for at least 5–10 minutes to remove carbon fines and air.
9. Final Checks and Maintenance Setup
- Label the filter housing with the installation date.
- Set a reminder for regular cartridge replacements (typically every 6–12 months).
- Keep a filter wrench and spare cartridges nearby for easy maintenance.
Maintenance Best Practices
Regular Filter Replacement
Follow the manufacturer’s guidelines for changing cartridges. Ignoring this can reduce water pressure and allow contaminants to bypass the filter media. If you notice a drop in water pressure or a change in water taste/odor, check the filters sooner.
System Sanitization
Once a year, sanitize the filter housings. Remove the cartridges, flush the housing with a diluted bleach solution (follow manufacturer’s ratio), rinse thoroughly, and replace with fresh cartridges.
Monitor for Leaks
Inspect all connections every few months, especially after filter changes. Even small drips can cause water damage over time.
Special Considerations for Well Water
- Test your water for bacteria, iron, and hardness annually.
- Consider adding specialized filters (iron/manganese, UV, or softeners) as indicated by your test results.
Common Mistakes to Avoid
- Skipping the bypass valve: Makes filter changes a hassle and can disrupt your home’s water supply.
- Incorrect orientation: Always match the inlet and outlet markings to your water flow direction.
- Overtightening fittings: Can lead to cracked housings or stripped threads.
- Neglecting local codes: Improper installation may violate plumbing codes or void warranties.
- Forgetting system flushing: Unflushed carbon dust can clog aerators and damage appliances.
FAQs: Troubleshooting and Tips
What if my water pressure drops significantly?
Check for clogged cartridges, partially closed valves, or debris in the system. Replace filters as needed and verify that installation matches flow direction.
How do I pick the right filter cartridges for my water?
Test your water for specific contaminants, then select cartridges rated for those issues (sediment, chlorine, lead, etc.). Many brands offer customizable multi-stage systems.
Can I install the system outdoors?
Outdoor installation is possible in mild climates but avoid freezing conditions and direct sunlight. Use insulated enclosures for protection if needed.
Is DIY installation safe for all plumbing types?
Most systems are compatible with copper, PEX, and PVC. For older galvanized steel or lead pipes, consult a licensed plumber.
Conclusion: Cleaner Water, Healthier Home—A Project Worth Your Effort
Installing a whole-house water filtration system is one of the most effective upgrades you can make for your family’s health and the longevity of your home’s plumbing. By following the steps outlined in this guide, you can confidently select the right system, navigate installation challenges, and establish a maintenance routine that keeps your water clean year-round. Remember to test your water before and after installation to confirm performance, and keep an eye on filter change intervals for optimal results. While the upfront cost and effort may seem significant, the peace of mind that comes from knowing every drop of water in your home is filtered is well worth it. Plus, you’ll likely enjoy fewer plumbing repairs, cleaner laundry, and a better shower experience—all everyday benefits that add up over the years. Whether you’re tackling this project as a DIY enthusiast or working with a professional, a whole-house filtration system is a smart, sustainable investment for any homeowner who values quality living.