

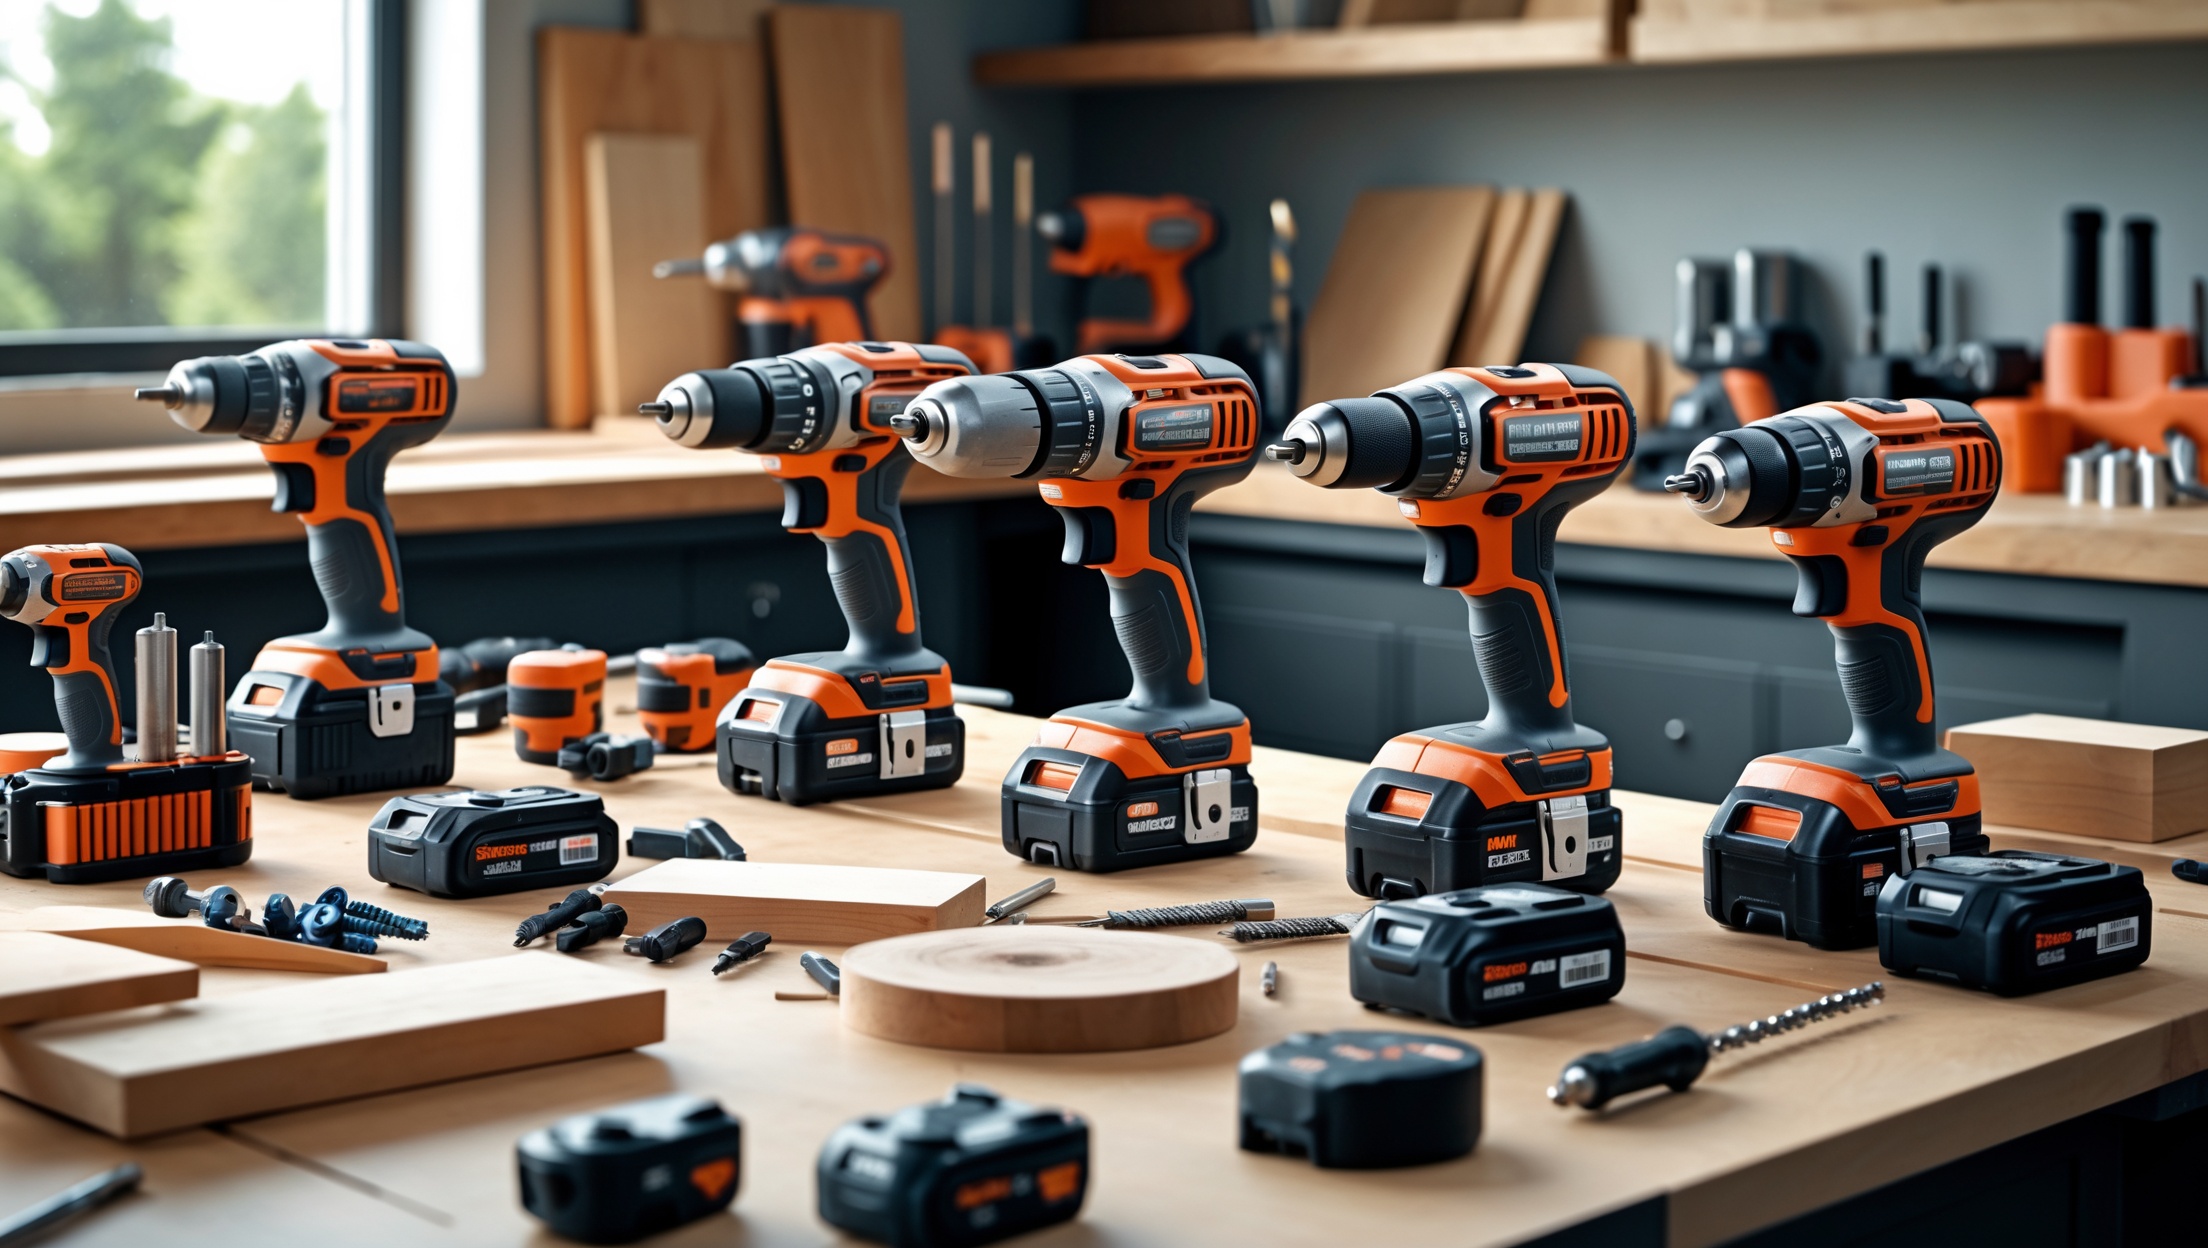
Introduction: Why the Right Drill Matters in Home Improvement
Every home improvement enthusiast knows that the right tool can make or break a project, and when it comes to versatility and power, few tools are as essential as the drill. Whether you’re mounting shelves, building furniture, or tackling a full renovation, choosing the appropriate drill for your specific task is crucial for both efficiency and safety. With the bewildering array of drills available—corded, cordless, hammer, impact, and more—many homeowners find themselves overwhelmed and unsure where to start. This comprehensive guide aims to demystify the world of drills, providing you with practical knowledge to confidently select, use, and maintain the perfect drill for every project in your home. You’ll learn how to match drills and bits to materials, understand power ratings, and discover features that can help you work smarter, not harder. By the end, you’ll be ready to add the right drill to your toolkit and use it to its fullest potential, ensuring your next home improvement project is a resounding success.
Understanding Drill Types: The Basics You Need to Know
Corded Drills
Corded drills are the traditional workhorses of the tool world. They plug directly into an electrical outlet, providing consistent and reliable power. These drills are ideal for heavy-duty tasks, such as drilling through masonry or thick lumber, where prolonged use is necessary and you don’t want to worry about battery life. Corded drills typically offer higher torque and speed than their cordless counterparts, making them a great choice for demanding projects. However, the need for a nearby power source and the restriction of a cord can limit mobility and convenience.
Cordless Drills
Cordless drills have surged in popularity due to advances in battery technology. They offer unparalleled portability and convenience, allowing you to work anywhere in and around your home. Powered by rechargeable lithium-ion batteries, cordless drills are available in a range of voltages, typically from 12V to 20V for homeowners. Higher voltage generally means more power, but also more weight. Cordless drills are perfect for general-purpose drilling and driving screws in wood, drywall, or light masonry. The trade-off is that battery life can be limiting during longer projects, and less powerful models may struggle with tougher materials.
Hammer Drills
For drilling into concrete, brick, or stone, a hammer drill is essential. These drills combine rotary motion with a rapid hammering action, effectively chipping away at hard surfaces to allow the bit to penetrate. Many modern hammer drills can switch between hammer mode and standard drilling, making them versatile additions to your toolkit. They are available in both corded and cordless versions. When selecting a hammer drill, consider the impact rate (measured in blows per minute) and ensure it has a comfortable grip to absorb vibration.
Impact Drivers
While not technically drills, impact drivers are close cousins. They are designed primarily for driving large or long screws and bolts, delivering high torque through short bursts of rotational force. This makes them ideal for assembling decking, framing, or other tasks requiring repetitive driving. Impact drivers are generally smaller and lighter than drills but lack the versatility of variable speed and clutch settings found in traditional drills. Some homeowners opt for drill/driver combo kits to cover a range of needs.
Key Features to Consider When Choosing a Drill
Power and Torque
The power of a drill is usually indicated by its voltage (for cordless) or amperage (for corded). For most home projects, a 12V or 18V cordless drill will suffice. Higher voltage models (20V+) provide more torque, which is the twisting force required to drive screws or drill through tough materials. For corded drills, look for models with at least 6 to 8 amps for reliable performance in most situations.
Speed Settings
Variable speed is a must-have for versatile drilling. Lower speeds (around 300-500 RPM) are ideal for driving screws, while higher speeds (1,200-2,000 RPM) are better for drilling holes. Some drills offer multiple speed settings or a two-speed gearbox, allowing you to customize performance for the task at hand.
Clutch Settings
The adjustable clutch is a critical feature for preventing overdriving screws or damaging materials. It allows you to control how much torque is applied before the drill stops turning. This is especially useful when working with soft woods, drywall, or delicate hardware.
Chuck Type and Size
The chuck is the part of the drill that holds the bit. Most homeowner drills feature a 3/8-inch keyless chuck, which is compatible with a wide range of bits and allows for quick changes without tools. Heavy-duty drills may have a 1/2-inch chuck for larger bits. Some specialty drills use a keyed chuck for extra grip, but these are less common in modern cordless models.
Weight and Ergonomics
Drill weight can become a major factor during extended use. Heavier drills provide more power but can cause fatigue, particularly in overhead or awkward positions. Look for models with ergonomic handles, balanced weight distribution, and rubberized grips for comfort and control.
Additional Features
- LED Work Light: Illuminates your work area for greater precision.
- Belt Clip: Handy for climbing ladders or moving around the job site.
- Battery Indicator: Shows remaining power on cordless models.
- Auxiliary Handle: Provides extra control for heavy-duty drilling.
Matching the Drill to Your Project: Practical Scenarios
1. Hanging Heavy Shelves in Drywall and Studs
A cordless drill with adjustable clutch settings is perfect for this job. Use a low clutch setting to drive screws into drywall without stripping, and switch to a higher setting for anchoring into studs. Choose a model with an LED light to illuminate dark corners.
2. Drilling into Masonry for Outdoor Fixtures
A hammer drill is necessary for concrete or brick. Use masonry bits and engage the hammer function. Corded models are preferable for prolonged work, but a powerful 18V or 20V cordless hammer drill can handle smaller jobs.
3. Assembling Flat-Pack Furniture
A lightweight 12V cordless drill or even a drill/driver is best. Variable speed and clutch prevent overtightening and damage to particle board or veneer surfaces. Compact size helps maneuver in tight spaces.
4. Building a Deck or Fence
Here, an impact driver shines for driving long screws or lag bolts into treated lumber. Pair with a heavy-duty cordless drill for pre-drilling holes and you’ll complete the work quickly and efficiently.
5. Installing Light Fixtures or Ceiling Fans
Use a compact cordless drill with a low-profile design to access tight ceiling spaces. Ensure the drill has a built-in LED and adequate power for drilling through joists or ceiling boxes.
Choosing the Right Drill Bits and Accessories
Drill Bit Types
- Twist Bits: General-purpose, suitable for wood, plastic, and soft metals.
- Spade Bits: Fast, wide holes in wood; useful for running wiring or plumbing.
- Masonry Bits: Hardened tips for concrete, brick, or stone; must be used with hammer drills.
- Brad Point Bits: Clean holes in wood, minimal splintering.
- Hole Saws: Large diameter holes in wood, drywall, or plastic.
- Step Bits: Incremental size increases; ideal for sheet metal or enlarging existing holes.
Choosing Quality Bits
Invest in high-quality bits made from high-speed steel (HSS), cobalt, or carbide for longevity and better performance. Cheap bits dull quickly and can damage your drill or materials. Keep bits sharp and replace them as necessary.
Accessories to Enhance Your Drill’s Performance
- Right-Angle Attachments: Allow drilling in tight or awkward spaces.
- Depth Stops: Ensure consistent hole depth—critical for doweling or anchor installation.
- Magnetic Bit Holders: Help with rapid screw changes, especially for impact drivers.
- Battery Packs: Spare batteries prevent downtime for cordless models.
Maintenance Best Practices for Drills
Cleaning and Storage
After each use, wipe your drill and bits with a clean cloth to remove dust and debris. For stubborn grime, use a mild detergent and a soft brush. Store your drill in a dry environment, ideally in a hard case or tool bag to protect against knocks and moisture. Keep bits organized in labeled cases for easy access and to prevent dulling from contact.
Battery Care for Cordless Drills
- Charge batteries fully before first use and avoid deep discharges.
- Store batteries at room temperature, away from extreme heat or cold.
- Remove batteries from the drill for long-term storage.
- Clean battery contacts periodically with a dry cloth.
Periodic Inspection
Check the drill chuck for wear, looseness, or wobble, which can affect accuracy and safety. Inspect power cords for fraying or damage. Test all switches and speed controls to ensure smooth operation. For hammer drills, check the hammer mechanism for signs of excessive vibration or loss of impact force.
Safety Essentials When Using Drills
- Always wear eye protection to guard against flying debris.
- Secure your workpiece with clamps or a vise to prevent slipping.
- Keep hands and fingers clear of moving parts and rotating bits.
- Use the correct bit for the material and check it is seated securely in the chuck.
- Start drilling at a low speed to establish the hole, then increase speed as needed.
- Disconnect power or remove the battery before changing bits or making adjustments.
- Be mindful of hidden wires, pipes, or obstructions within walls and ceilings.
Budgeting for Your Drill Purchase
Entry-Level (Under $75)
Basic cordless drills, suitable for light tasks like assembling furniture or hanging pictures. Limited torque and battery life but ideal for occasional DIYers. Typically includes a single battery and basic charger.
Mid-Range ($75–$175)
More powerful cordless models with lithium-ion batteries, adjustable clutch, and multiple speed settings. Suitable for most home improvement projects. Often bundled with extra batteries, a carrying case, and a basic set of bits.
Professional Grade ($175+)
High-torque, heavy-duty drills, including hammer and impact models. Often feature brushless motors for longer life and better efficiency. Ideal for frequent DIYers, large-scale renovations, or working with tough materials. Expect advanced features like rapid chargers, smart battery management, and comprehensive accessory kits.
Tip:
Consider bundle deals and combo kits if you need both a drill and an impact driver, as these often provide better value than purchasing tools separately.
Frequently Asked Questions About Home Drills
- Can I use a drill as a screwdriver? Yes, but use the appropriate bit and clutch setting to prevent overdriving.
- What’s the difference between brushless and brushed motors? Brushless motors are more efficient, last longer, and require less maintenance, but are generally more expensive.
- Do I really need a hammer drill? Only if you plan to drill into concrete, brick, or stone. Otherwise, a standard drill suffices.
- How long do drill batteries last? Lithium-ion batteries typically last 2-3 years with regular use, longer if properly maintained.
Conclusion: Equip Yourself for DIY Success
Selecting the right drill is more than a matter of brand or price—it’s about matching performance and features to your unique project needs. By understanding the differences between corded, cordless, hammer, and impact models, as well as the importance of clutch settings, speed controls, and ergonomic design, you’ll be empowered to make informed decisions that boost both your confidence and your results. Remember, investing in quality drill bits and maintaining your equipment properly will pay off with smoother, faster, and safer home improvements. Whether you’re hanging a picture or building a backyard deck, the right drill can be your most reliable ally. Take the time to assess your typical project requirements, consider your budget, and don’t hesitate to test different models at your local hardware store. With a well-chosen drill in your toolkit, you’re equipped to tackle any home improvement challenge that comes your way—efficiently, safely, and with professional-quality results.