

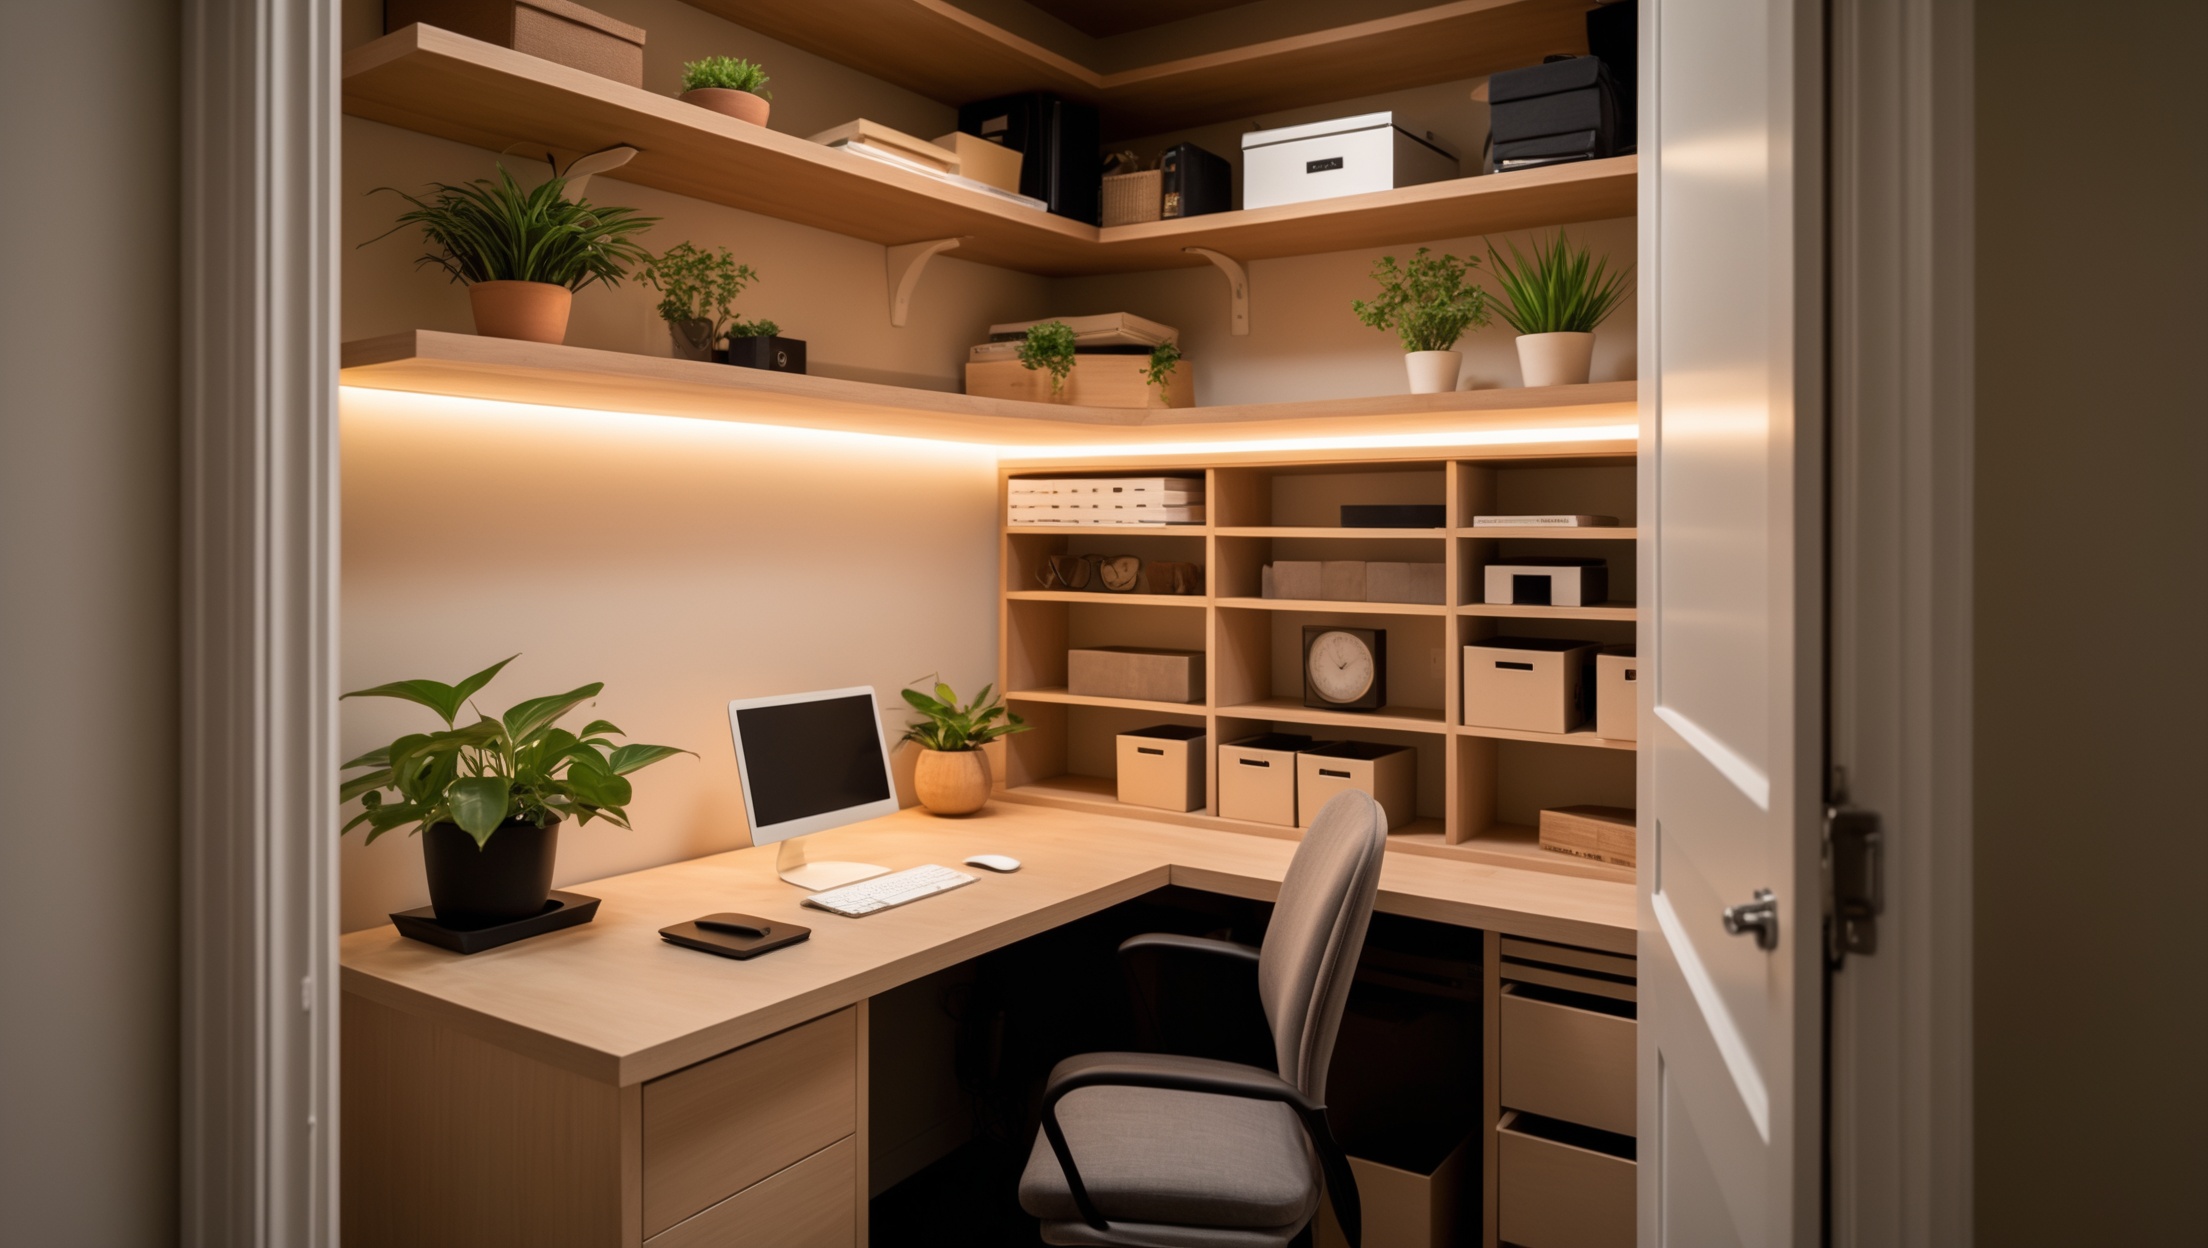
Introduction: Unlocking Potential in Small Spaces
The surge of remote work and flexible lifestyles has made home offices not just a luxury, but a necessity. However, not every home comes equipped with extra rooms ripe for transformation. For many homeowners, the solution lies in getting creative with the space they do have—often, this means maximizing overlooked areas like closets. In this case study, we dive deep into a real-world closet-to-home office transformation, examining the process from the spark of inspiration through planning, execution, and final reveal. We’ll cover every crucial step: design decisions, budgeting, compliance considerations, and clever storage solutions. Whether you’re looking to carve out a workspace in a small apartment or upgrade your existing work-from-home setup without sacrificing square footage, this detailed guide delivers actionable insights and lessons learned. By the end, you’ll have the knowledge and confidence to embark on your own small-space makeover, turning underutilized nooks into productive, beautiful environments.
Project Overview: The Closet-to-Office Vision
The homeowner—a graphic designer living in a two-bedroom apartment—had been working from the dining table for months. The second bedroom was occupied, and the only underused area was a reach-in closet in the hallway. Measuring just 5 feet wide by 2 feet deep, the closet initially housed seasonal clothing and random storage bins. The goal: create a fully functional workspace with proper lighting, organization, and minimal disruption to the rest of the home.
Key Objectives
- Maximize every inch of a 10-square-foot space
- Ensure ergonomic comfort for long work hours
- Maintain an uncluttered, visually appealing look
- Stay within a $1,000 budget
- Comply with local building codes and apartment regulations
Planning and Design: Laying the Groundwork
Assessing the Space
First, the homeowner emptied the closet and took precise measurements of every dimension, including ceiling height and door opening. They checked for outlets (none present), light fixtures (a single bare bulb), and wall condition (drywall with some minor scuffs).
Design Inspiration and Priorities
Given the narrow depth, a standard desk wouldn’t fit. The solution: a custom wall-mounted desktop. Additional priorities included maximizing vertical storage and ensuring good lighting. The homeowner sketched a plan including:
- A floating desk cut to fit wall-to-wall
- Two floating shelves above the desk for supplies
- Task lighting and ambient LED strips
- Cord management for a clean look
- A comfortable, compact office chair that could be tucked away
Material and Finish Selection
To create a cohesive workspace, materials were chosen for durability and aesthetic appeal. The desktop and shelves would be constructed of finished plywood, stained a warm walnut to match existing trim in the apartment. Hardware would be matte black for a modern touch.
Budget Breakdown: Costs and Smart Savings
With a $1,000 cap, every purchase needed careful consideration. Here’s how the budget was allocated:
- Desk and Shelving Materials: $180 (pre-cut plywood, stain, polyurethane, brackets)
- Lighting: $130 (LED strip kit, under-shelf puck lights)
- Electrical Work: $200 (licensed electrician to install an outlet and switch)
- Chair: $120 (compact armless office chair)
- Organization: $80 (drawer unit, cable trays, desktop organizers)
- Tools and Supplies: $90 (sandpaper, brushes, anchors, screws, caulk)
- Decor and Finishing Touches: $70 (artwork, small plant, rug)
- Contingency: $130 (for unexpected expenses)
Total: $1,000
Money-Saving Tips
- Repurposed a storage bin as a footrest
- Bought plywood offcuts at a discount
- Installed shelves and desk as DIY to save on labor
- Chose a plug-in LED kit to avoid expensive hardwiring
Compliance and Permitting: Navigating the Rules
Even small projects can have legal and safety implications. Since this was an apartment, the homeowner checked the lease for renovation clauses. Key considerations:
- Electrical: Installing a new outlet required landlord approval and hiring a licensed electrician, as per city code.
- Fixture Attachments: All shelving and desks had to be removable and cause minimal wall damage.
- Building Codes: Ensured clear egress (door could still close and open fully) and used fire-rated materials where required.
- Noise & Work Hours: Followed building guidelines to avoid complaints during installation.
Documentation, including receipts and electrician’s certification, was kept on file for move-out or future lease discussions.
Step-by-Step Transformation Process
1. Emptying and Prepping the Closet
All items were removed, and the space was thoroughly cleaned. Old shelving and the hanging rod were carefully demounted and stored for later reinstallation if needed.
2. Electrical Upgrades
A licensed electrician installed a new grounded outlet below desk height and swapped the ceiling bulb for a recessed LED fixture. This provided both safety and flexibility for powering multiple devices.
3. Surface Repairs and Painting
Minor drywall holes were patched, sanded, and primed. The interior was painted a light, warm gray to reflect light and create a calming workspace feel.
4. Installing the Floating Desk
The plywood desktop was cut to fit wall-to-wall with a depth of 20 inches. Heavy-duty wall brackets, anchored into studs, supported the desk. The top was stained, sealed, and allowed to cure for 48 hours before installation.
5. Shelving and Organization
Two matching shelves, spaced 14 inches apart, were installed above the desk. Each was anchored with wall plugs and brackets rated for 50 lbs. A slim drawer unit slid under one side of the desk for extra storage.
6. Lighting Installation
An LED strip was mounted along the underside of the lower shelf for ambient light, while two puck lights offered focused task lighting. All lighting was plug-in and controlled by a remote switch for convenience.
7. Cord Management and Accessories
Cable trays and adhesive clips routed wires discreetly along the edges. A surge protector was mounted under the desk. Desktop organizers held pens, notebooks, and tech accessories within reach but out of sight.
8. Furnishing and Final Touches
The compact office chair fit neatly under the desk when not in use. A small framed print and a potted plant brought life to the space. A woven rug below the desk warmed the area and protected the floor.
Before-and-After: Real-World Results
The transformation was dramatic. The closet, once a catch-all for clutter, became a dedicated and inviting home office. Key improvements included:
- Functionality: Ample desk space for a laptop, monitor, and work materials
- Organization: Everything had a designated place, reducing distractions and mess
- Lighting: Layered lighting minimized eye strain and created a professional atmosphere
- Aesthetics: The workspace blended seamlessly with the rest of the apartment
Perhaps most importantly, the new office could be hidden away by simply closing the closet doors, preserving peace and privacy when work was finished.
Expert Tips for Closet-to-Office Success
- Measure Twice, Cut Once: Closets are rarely perfectly square. Measure all dimensions before purchasing or cutting materials.
- Use Vertical Space: Floating shelves and wall organizers maximize storage without crowding the desktop.
- Invest in Lighting: Good lighting is essential for productivity and comfort in small, enclosed areas.
- Prioritize Ergonomics: Choose a chair and desk height that support healthy posture, even in tight quarters.
- Stay Flexible: Use removable fixtures and modular organization to adapt the space as needs change.
- Get Approval: Always check with landlords or HOA before making permanent changes, especially electrical work.
Maintenance Best Practices
Even a small workspace benefits from regular upkeep. Weekly dusting keeps electronics and surfaces clean. Monthly, check cord management solutions for wear or loosening. Every quarter, reevaluate storage and purge unnecessary items to prevent clutter. Finally, inspect lighting and power strips for signs of overheating or damage, replacing as needed to keep the workspace safe.
Conclusion: Small Space, Big Impact
This closet-to-home office project proves that with thoughtful planning, even the most overlooked corners of a home can become functional, beautiful workspaces. The transformation delivered on all fronts: comfort, utility, aesthetics, and budget discipline. For homeowners and renters alike, this case study offers a blueprint for converting underused areas into high-value assets—without major construction or sky-high costs.
As remote work continues to be a part of modern life, maximizing available space is an investment in both productivity and well-being. With clear steps and practical tips, you can confidently tackle your own closet conversion, creating a workspace that supports your goals and suits your style. Don’t let limited square footage hold you back—embrace the challenge, and let creativity lead the way to your ideal home office.
I noticed you mentioned staying within a $1,000 budget. Did you run into any unexpected costs during the closet-to-office transformation, like electrical work for lighting or permits? How did you handle those?
There were a couple of surprises, mainly small electrical updates for better lighting and adding more outlets. Fortunately, these stayed manageable since the existing wiring was in good shape. No permits were needed since we didn’t modify the structure, but we did keep a little cushion in the budget for these small extras.
I really like the idea of maximizing space in a small closet for an office. If someone needs to store things like a printer or extra paperwork, do you have tips for incorporating additional storage without making it feel cramped?
To keep the space open, consider vertical storage like wall-mounted shelves above the desk for paperwork or supplies. Use slim cabinets or rolling carts under the desk for a printer and extra items. Clear containers and organizers can help keep everything tidy without making the area feel crowded.
How did you choose a desk that fit the 5-by-2-foot closet without making it feel cramped? I’m torn between a custom-built surface and something premade that’s easy to install.
For the 5-by-2-foot closet, we chose a shallow, wall-mounted desk to keep the floor clear and maintain an open feel. A custom-built surface maximized every inch, but some slim, premade floating desks can work well if you want easier installation and flexibility.
How did the homeowner deal with power outlets and managing cords in such a small 5×2 foot closet space? I’m worried about clutter and safety when setting up electronics in my own project.
The homeowner installed a compact power strip with USB ports inside the closet, mounting it to the wall to keep cords off the floor. Cable clips and adhesive cable organizers were used to route wires neatly along the walls and under the desk, which helped prevent clutter and reduced tripping hazards.
How long did the whole closet-to-office transformation take from start to finish? I’m hoping to try something similar but only have weekends free.
The entire transformation took about three weekends from start to finish. This included clearing out the closet, painting, installing shelves and a desk, and adding lighting. Since you have weekends free, you can definitely tackle a similar project at a comfortable pace.